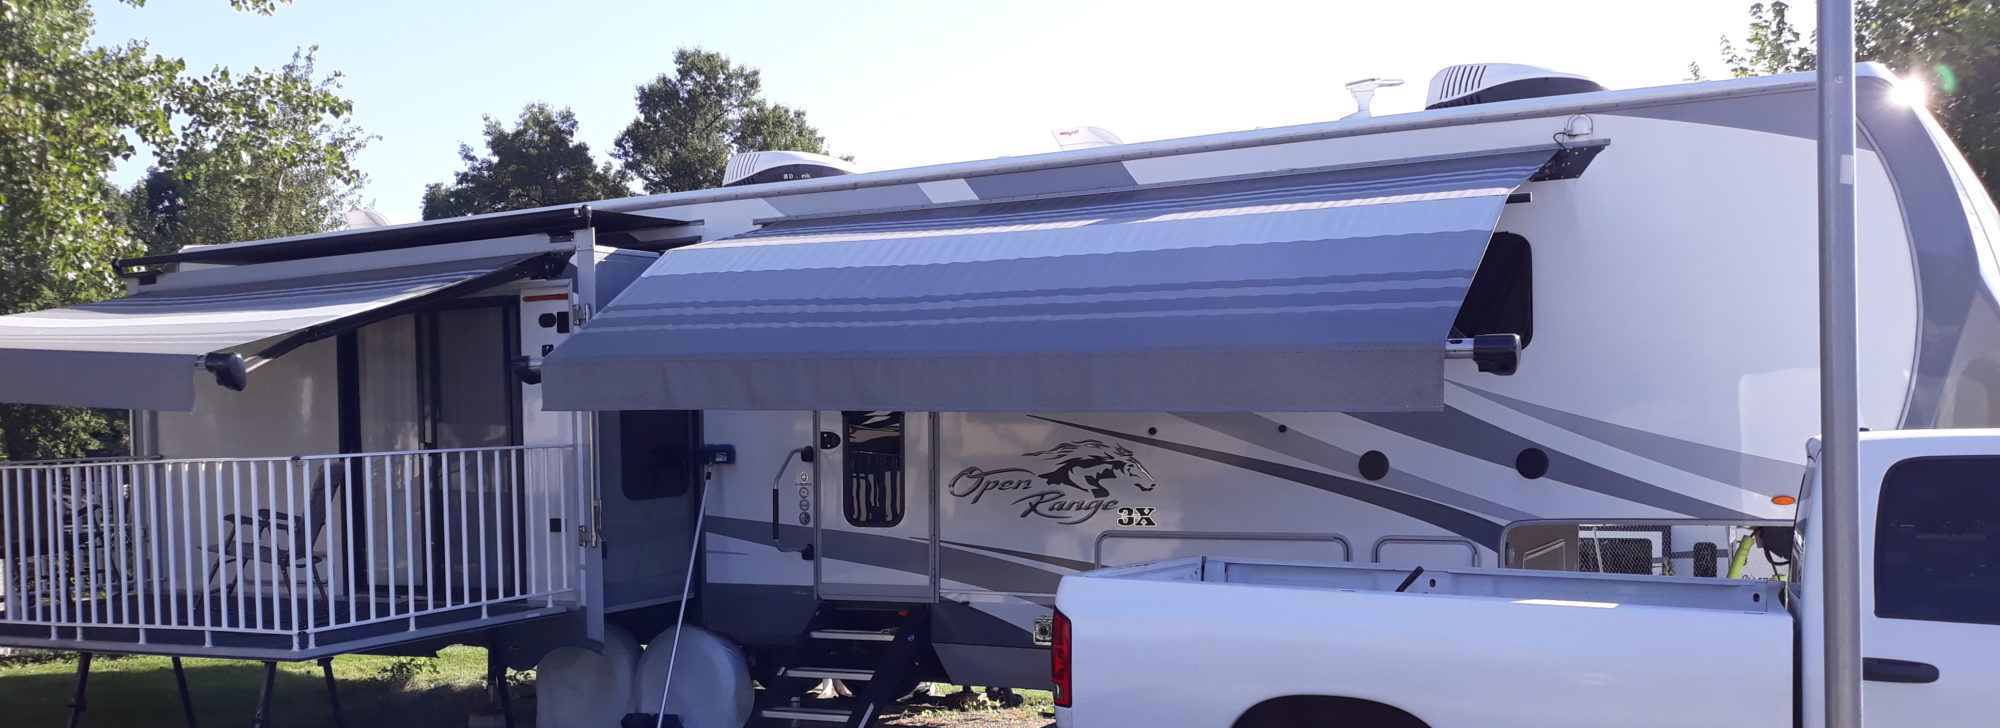
Last summer we were told that we had a bent axle on the trailer that needed to be replaced. I’m not sure they were correct but the tires were closer together on one side. Maybe a bent axle, maybe a spring hangar that got welded back in the wrong position, maybe just flattened leaf springs.
Anyway, when we got to San Antonio a few months ago I started looking for a trailer repair shop. I got very lucky and found a place very close to our RV park. After talking to them in person, I ordered 2 new Dexter 7k axles with leaf springs already installed and forward adjusting brakes. Was that overkill? Maybe a little. But the upside was that the axles arrived at the shop all ready to bolt on and connect the brake wires. As fulltimers, it’s very important to get our rig back as quickly as possible, especially now with a cat.
It was this shop that pointed out that the tire separation was probably off due to the flattened leaf springs under the very heavy kitchen slide. Taking this into consideration, I started looking at other possible solutions after we got the RV back (same day, early afternoon). I’ve gone through a number of leaf spring replacements and they’re either expensive (if I pay a shop to do it) or a real pain in the neck (if I do it). I’d heard about some people using air bags but I really didn’t want to mess with checking and adjusting psi frequently.
There were also a couple of other names that came up in my research: Sumo Springs and Timbren. I was initially leaning towards the Sumo Springs due to lower price. Then I heard from some other Open Range owners that our rigs typically don’t have the clearance they require. Per the folks at Sumo, we could just trim it down but that didn’t seem like a very good solution. The Timbrens, while more expensive, seemed to compensate for differing clearances better by using a main stack and individual spacers that could be added.
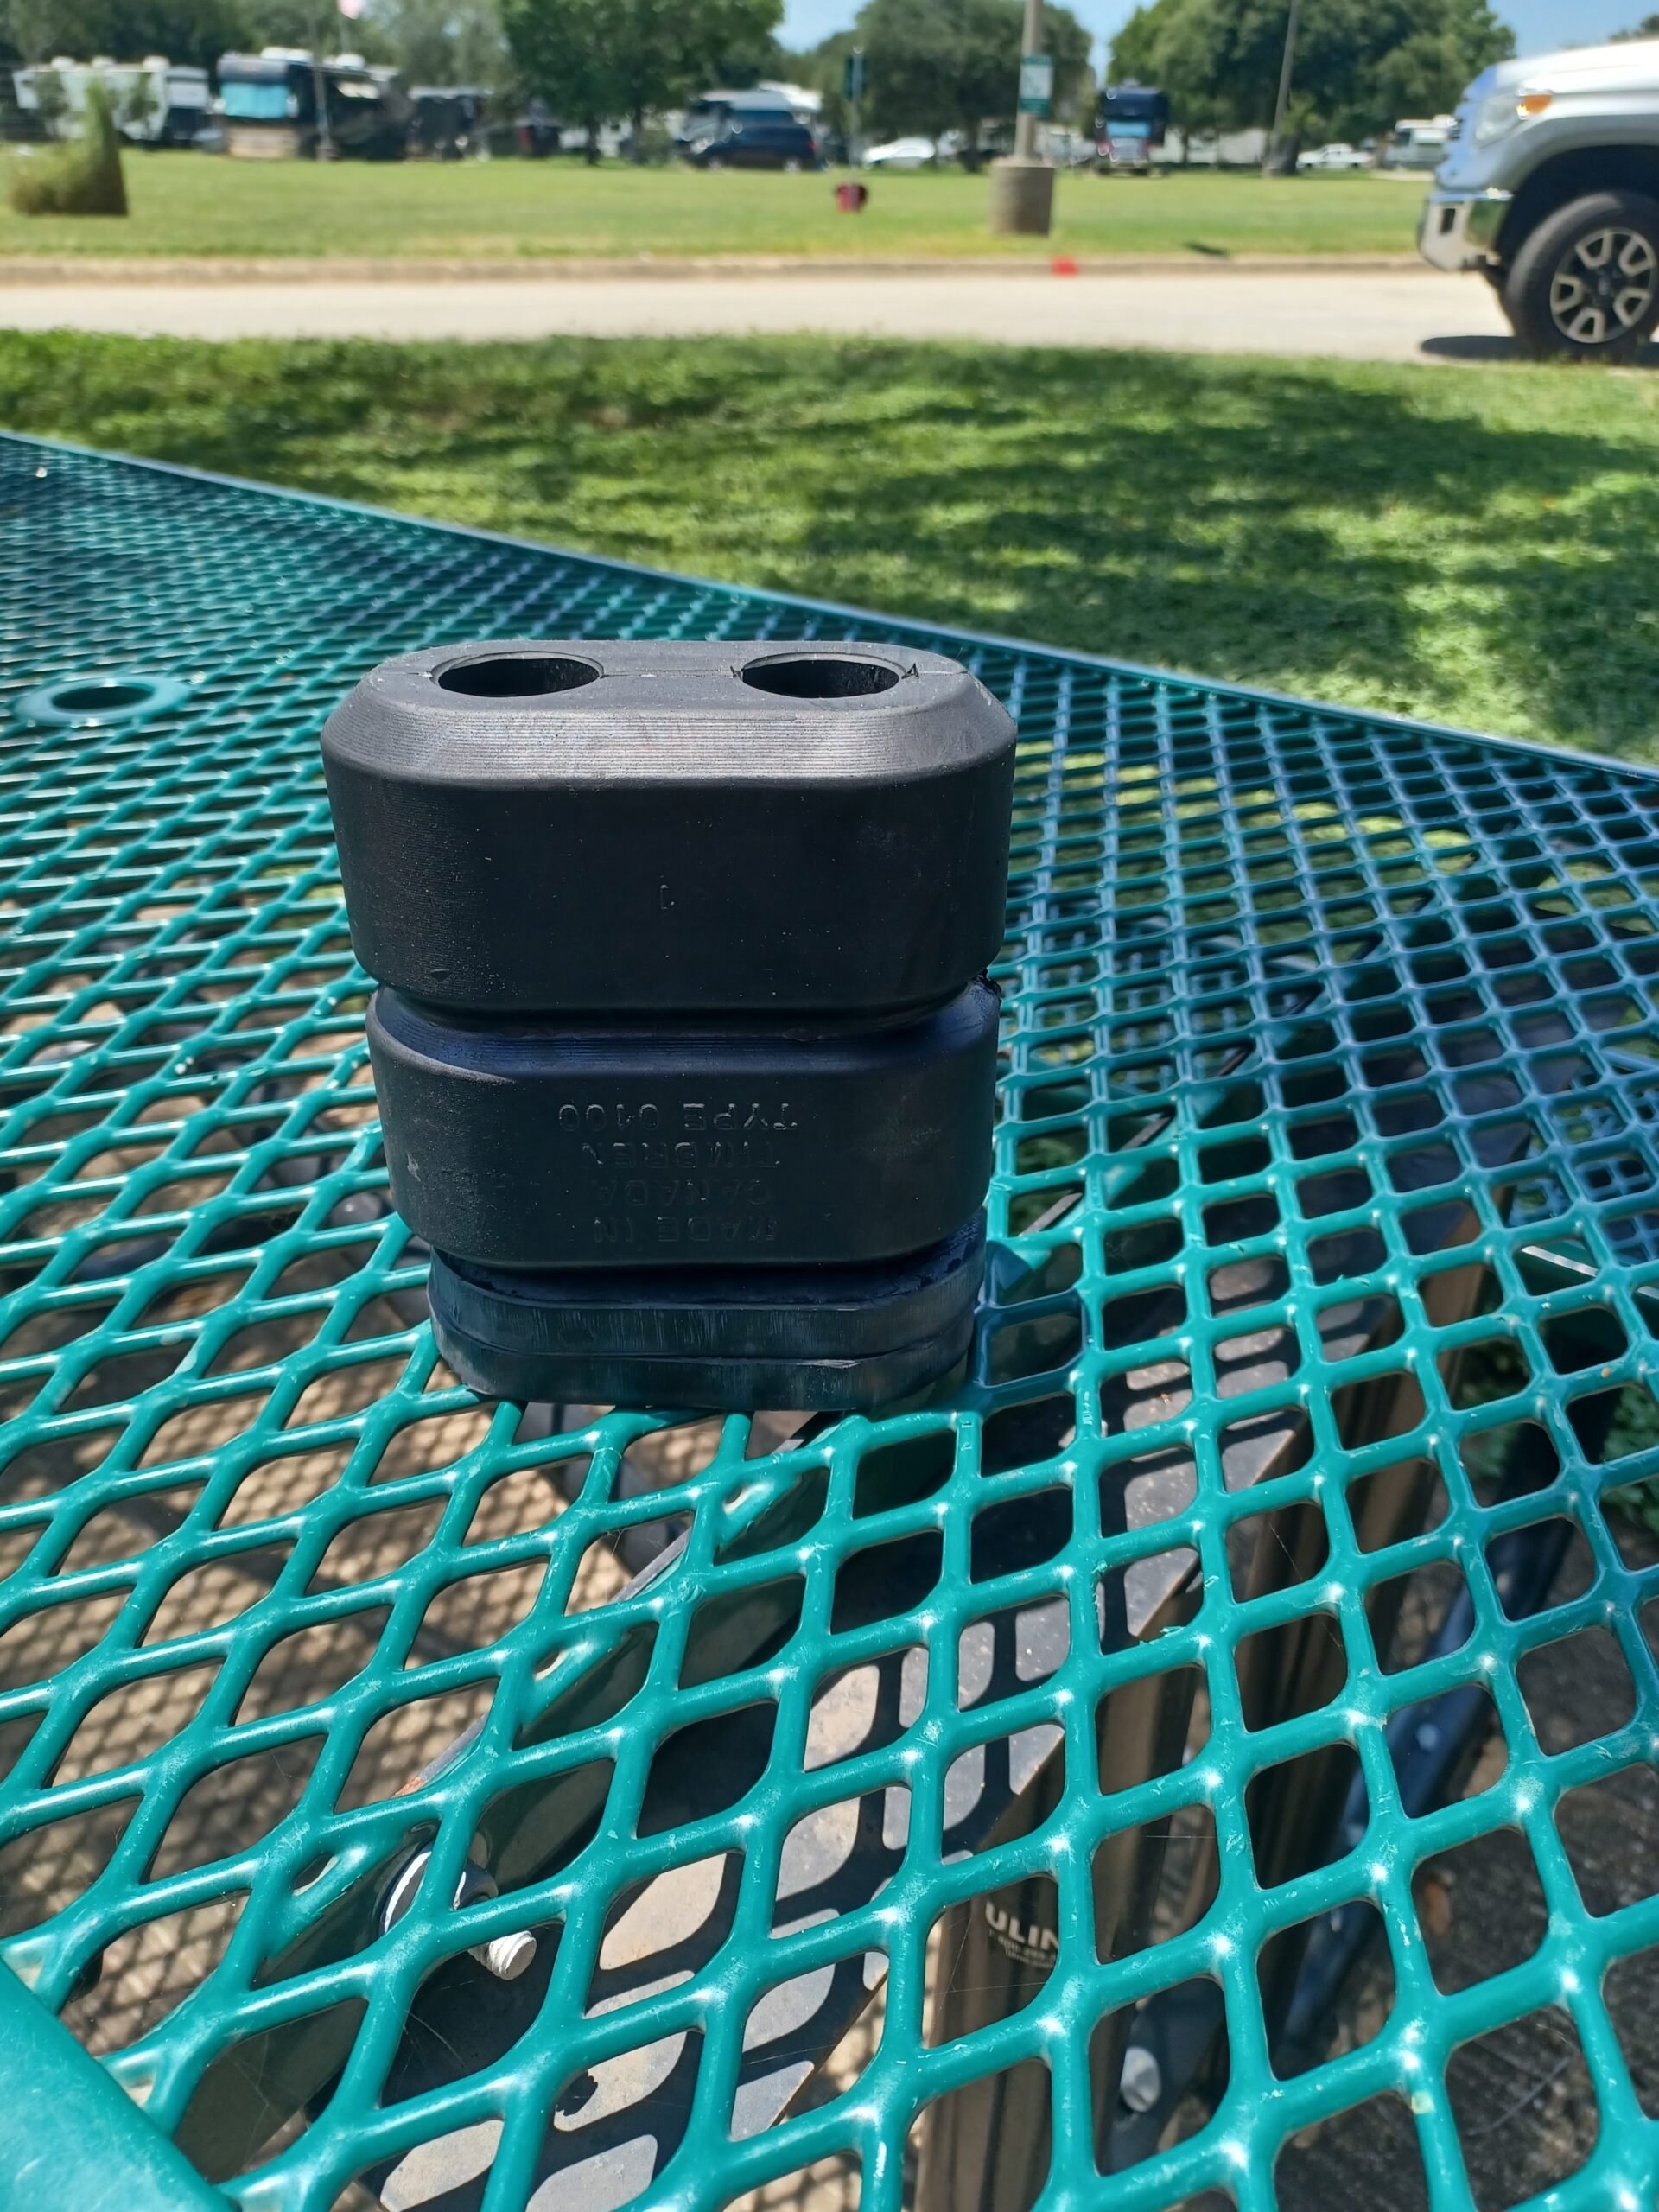
Here you can see the main stack (one piece) with 2 spacers beneath.
A few other comments about Timbrens are in order. You may have seen some of their ads talking about 30 minute installation. That’s for the bump stops that go in cars, trucks, SUVs. What I got was Timbren SES for Trailers. Totally different animal. More parts to assemble. Some parts need to be held in place by hand while figuring out and marking a bracket for exact positioning of the main stack (which they call the Aeon). In the pic above it looks like it might be two big pieces but it’s really just one. After you get all the positioning figured out, you get to attach the Aeon and any required spacers to one of the bracket pieces with shoulder bolts going up from the bottom.
My initial attempt to attach the Aeon to the bracket failed miserably. First, the kit was missing the correct size shoulder bolts. I contacted Timbren and they overnighted the missing bolts. While trying to use the incorrect bolt I had to use needle nose pliers to get the nut started, with the bolt pushed up from the bottom of the Aeon.
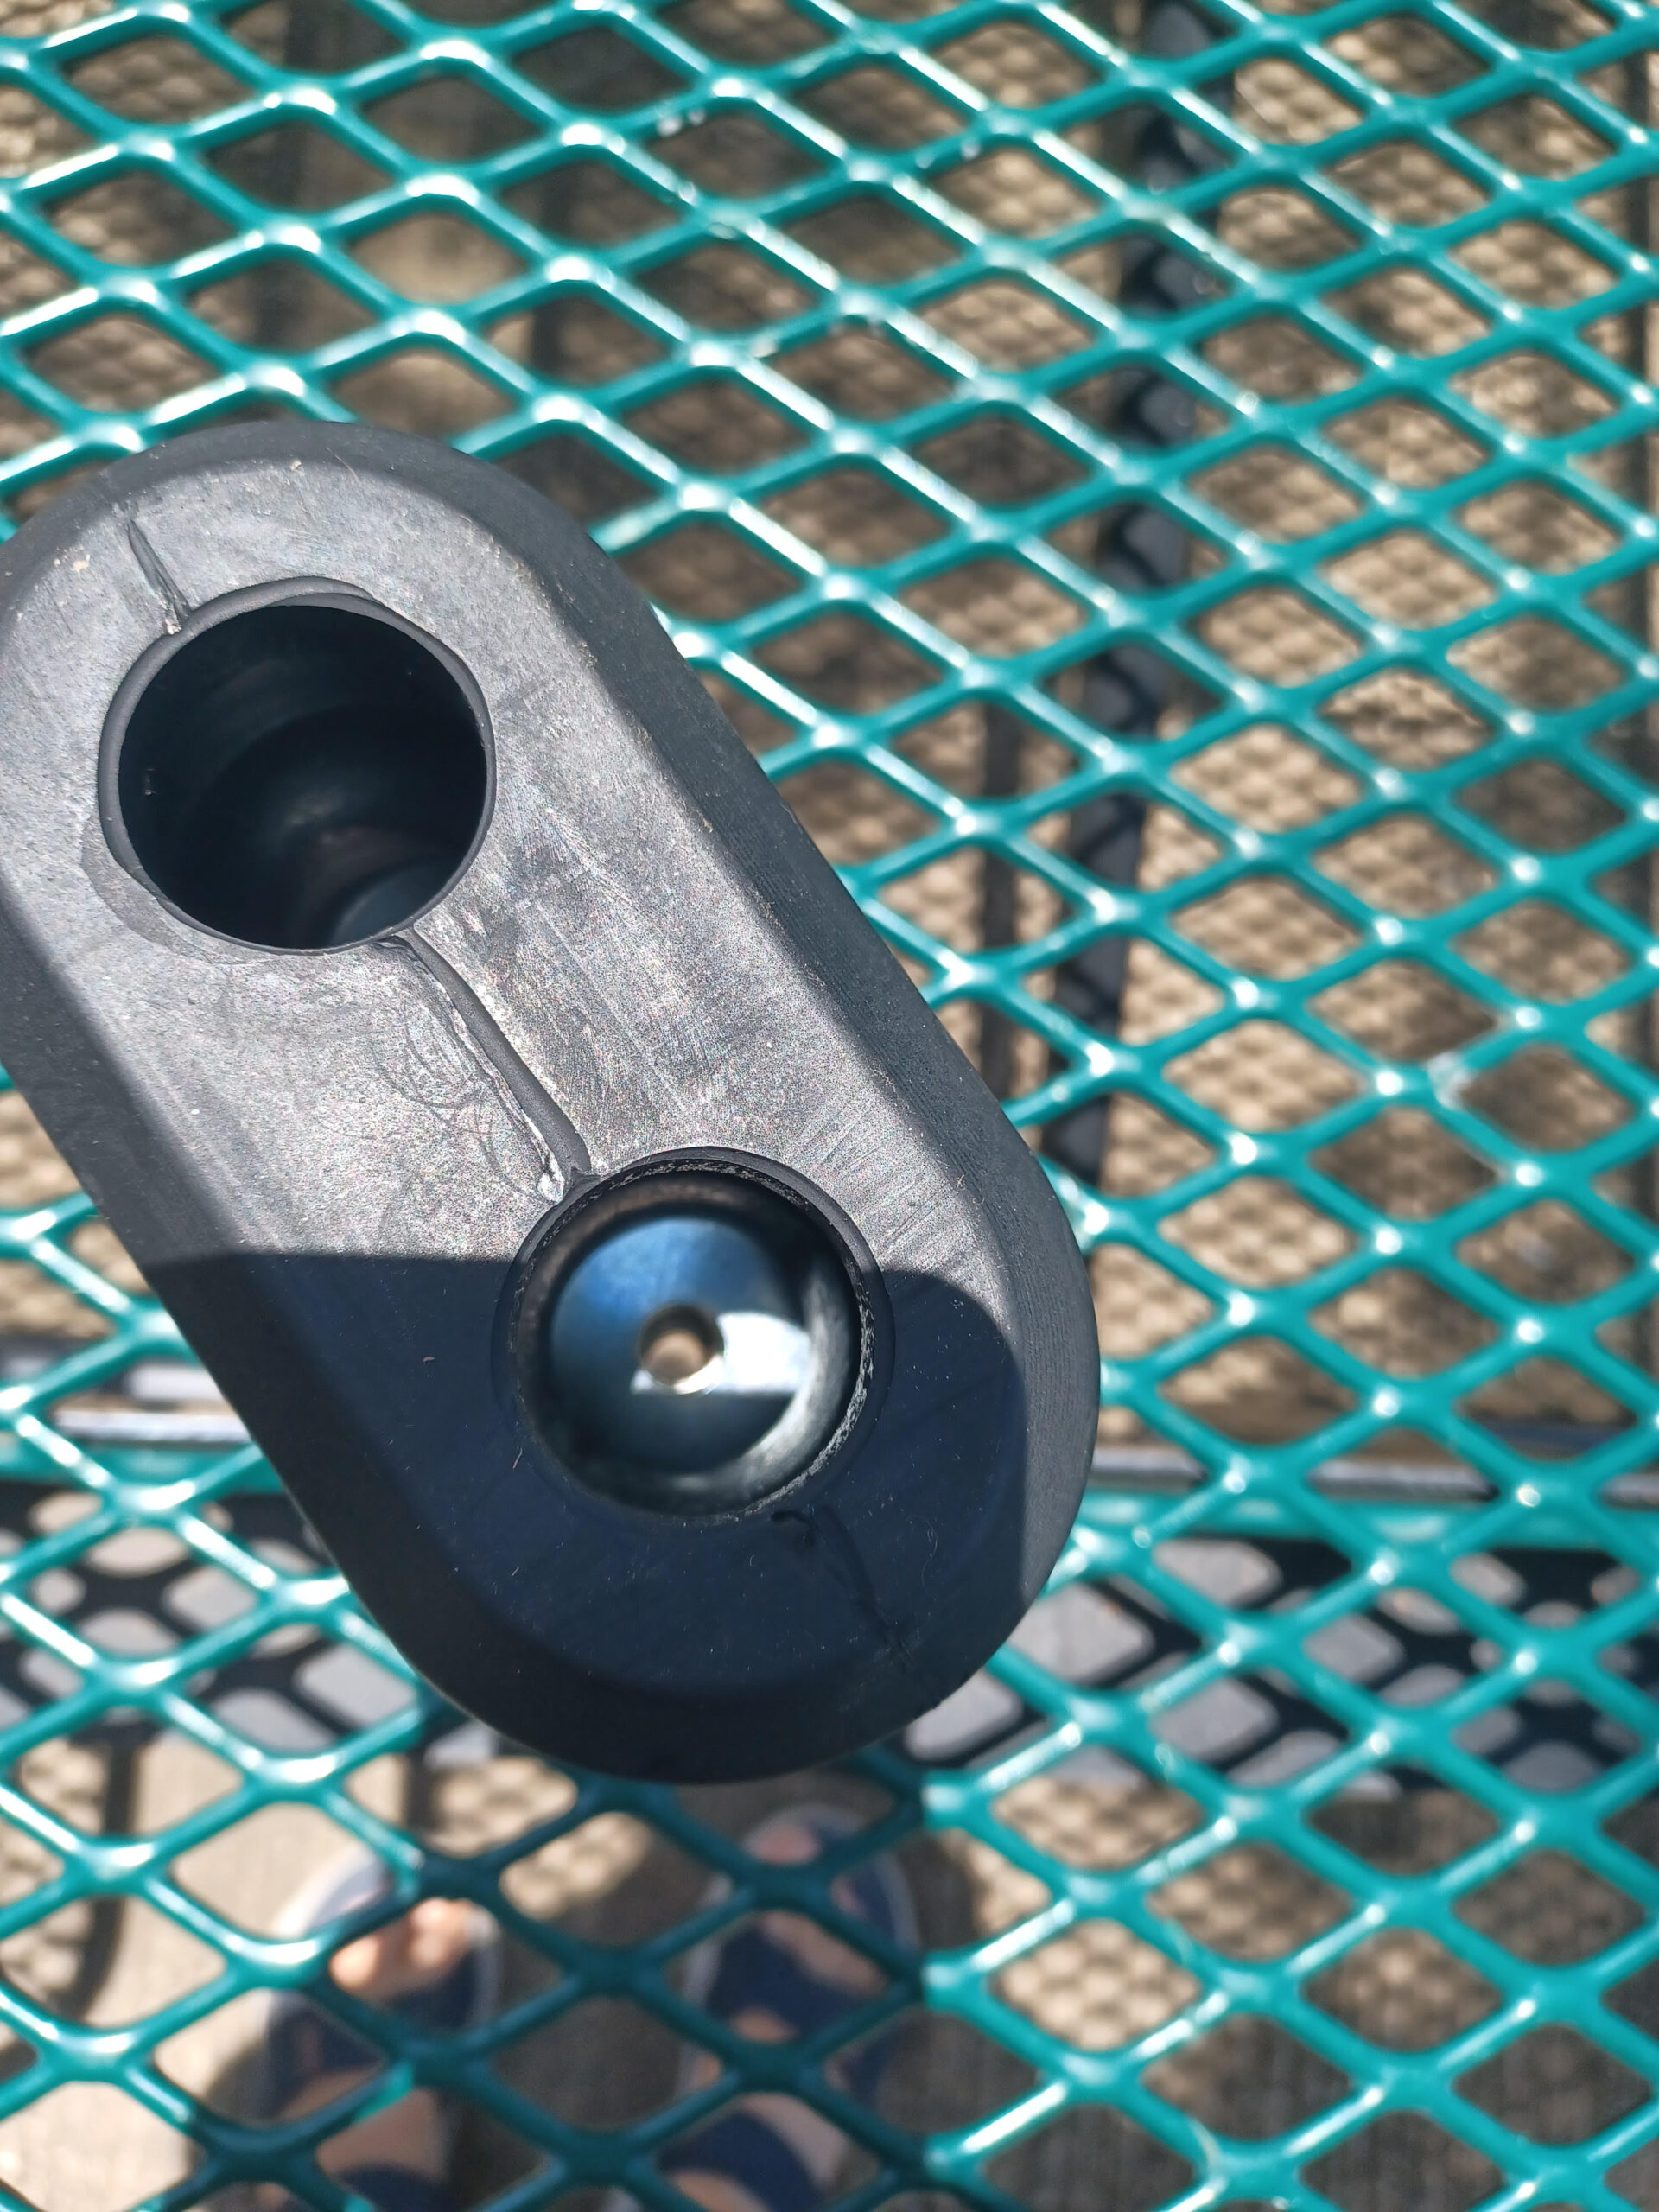
It was doable, but would’ve worked better with needle nose vice grips. Anyway, it was during this process that I figured out the bolts were the wrong size. When I used the correct size bolts, the needle nose pliers wouldn’t reach down far enough into the hole. I sat for a few minutes thinking of different options and remembered that I had telescoping magnetic pickup tools. One of them had a big enough magnet on the end that I could lower the nut and get it started on the bolt before switching to a ratchet.
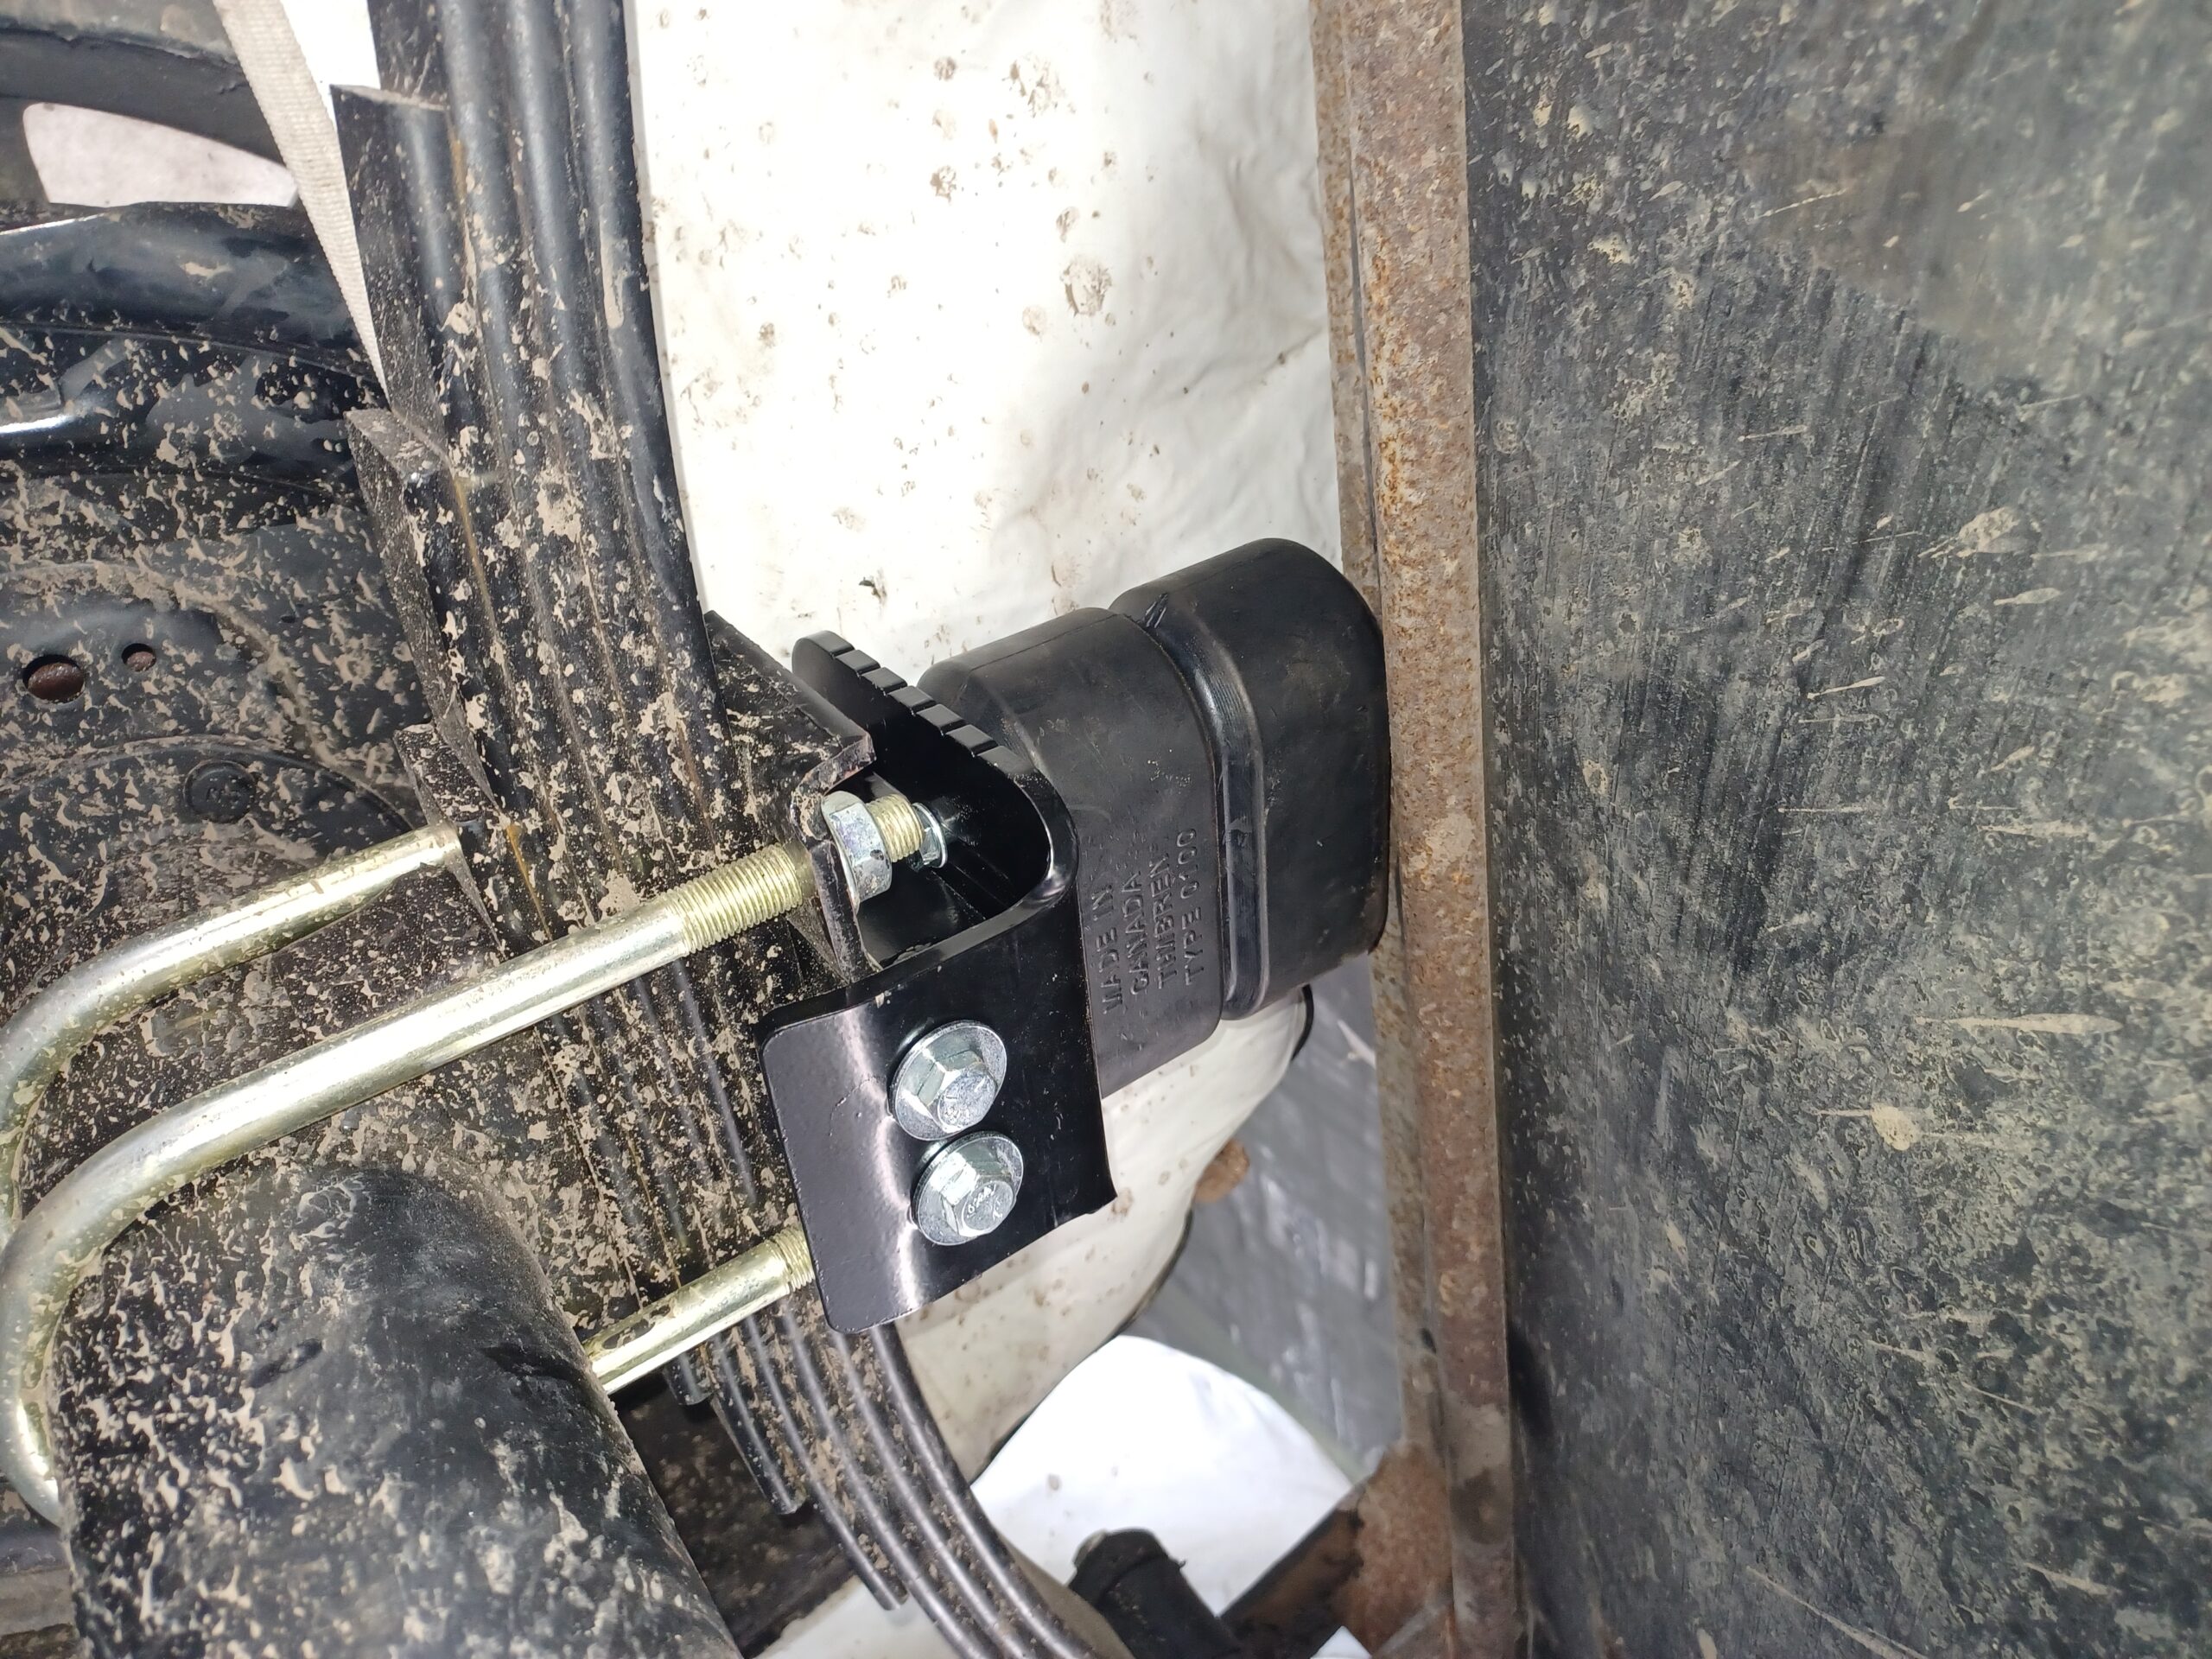
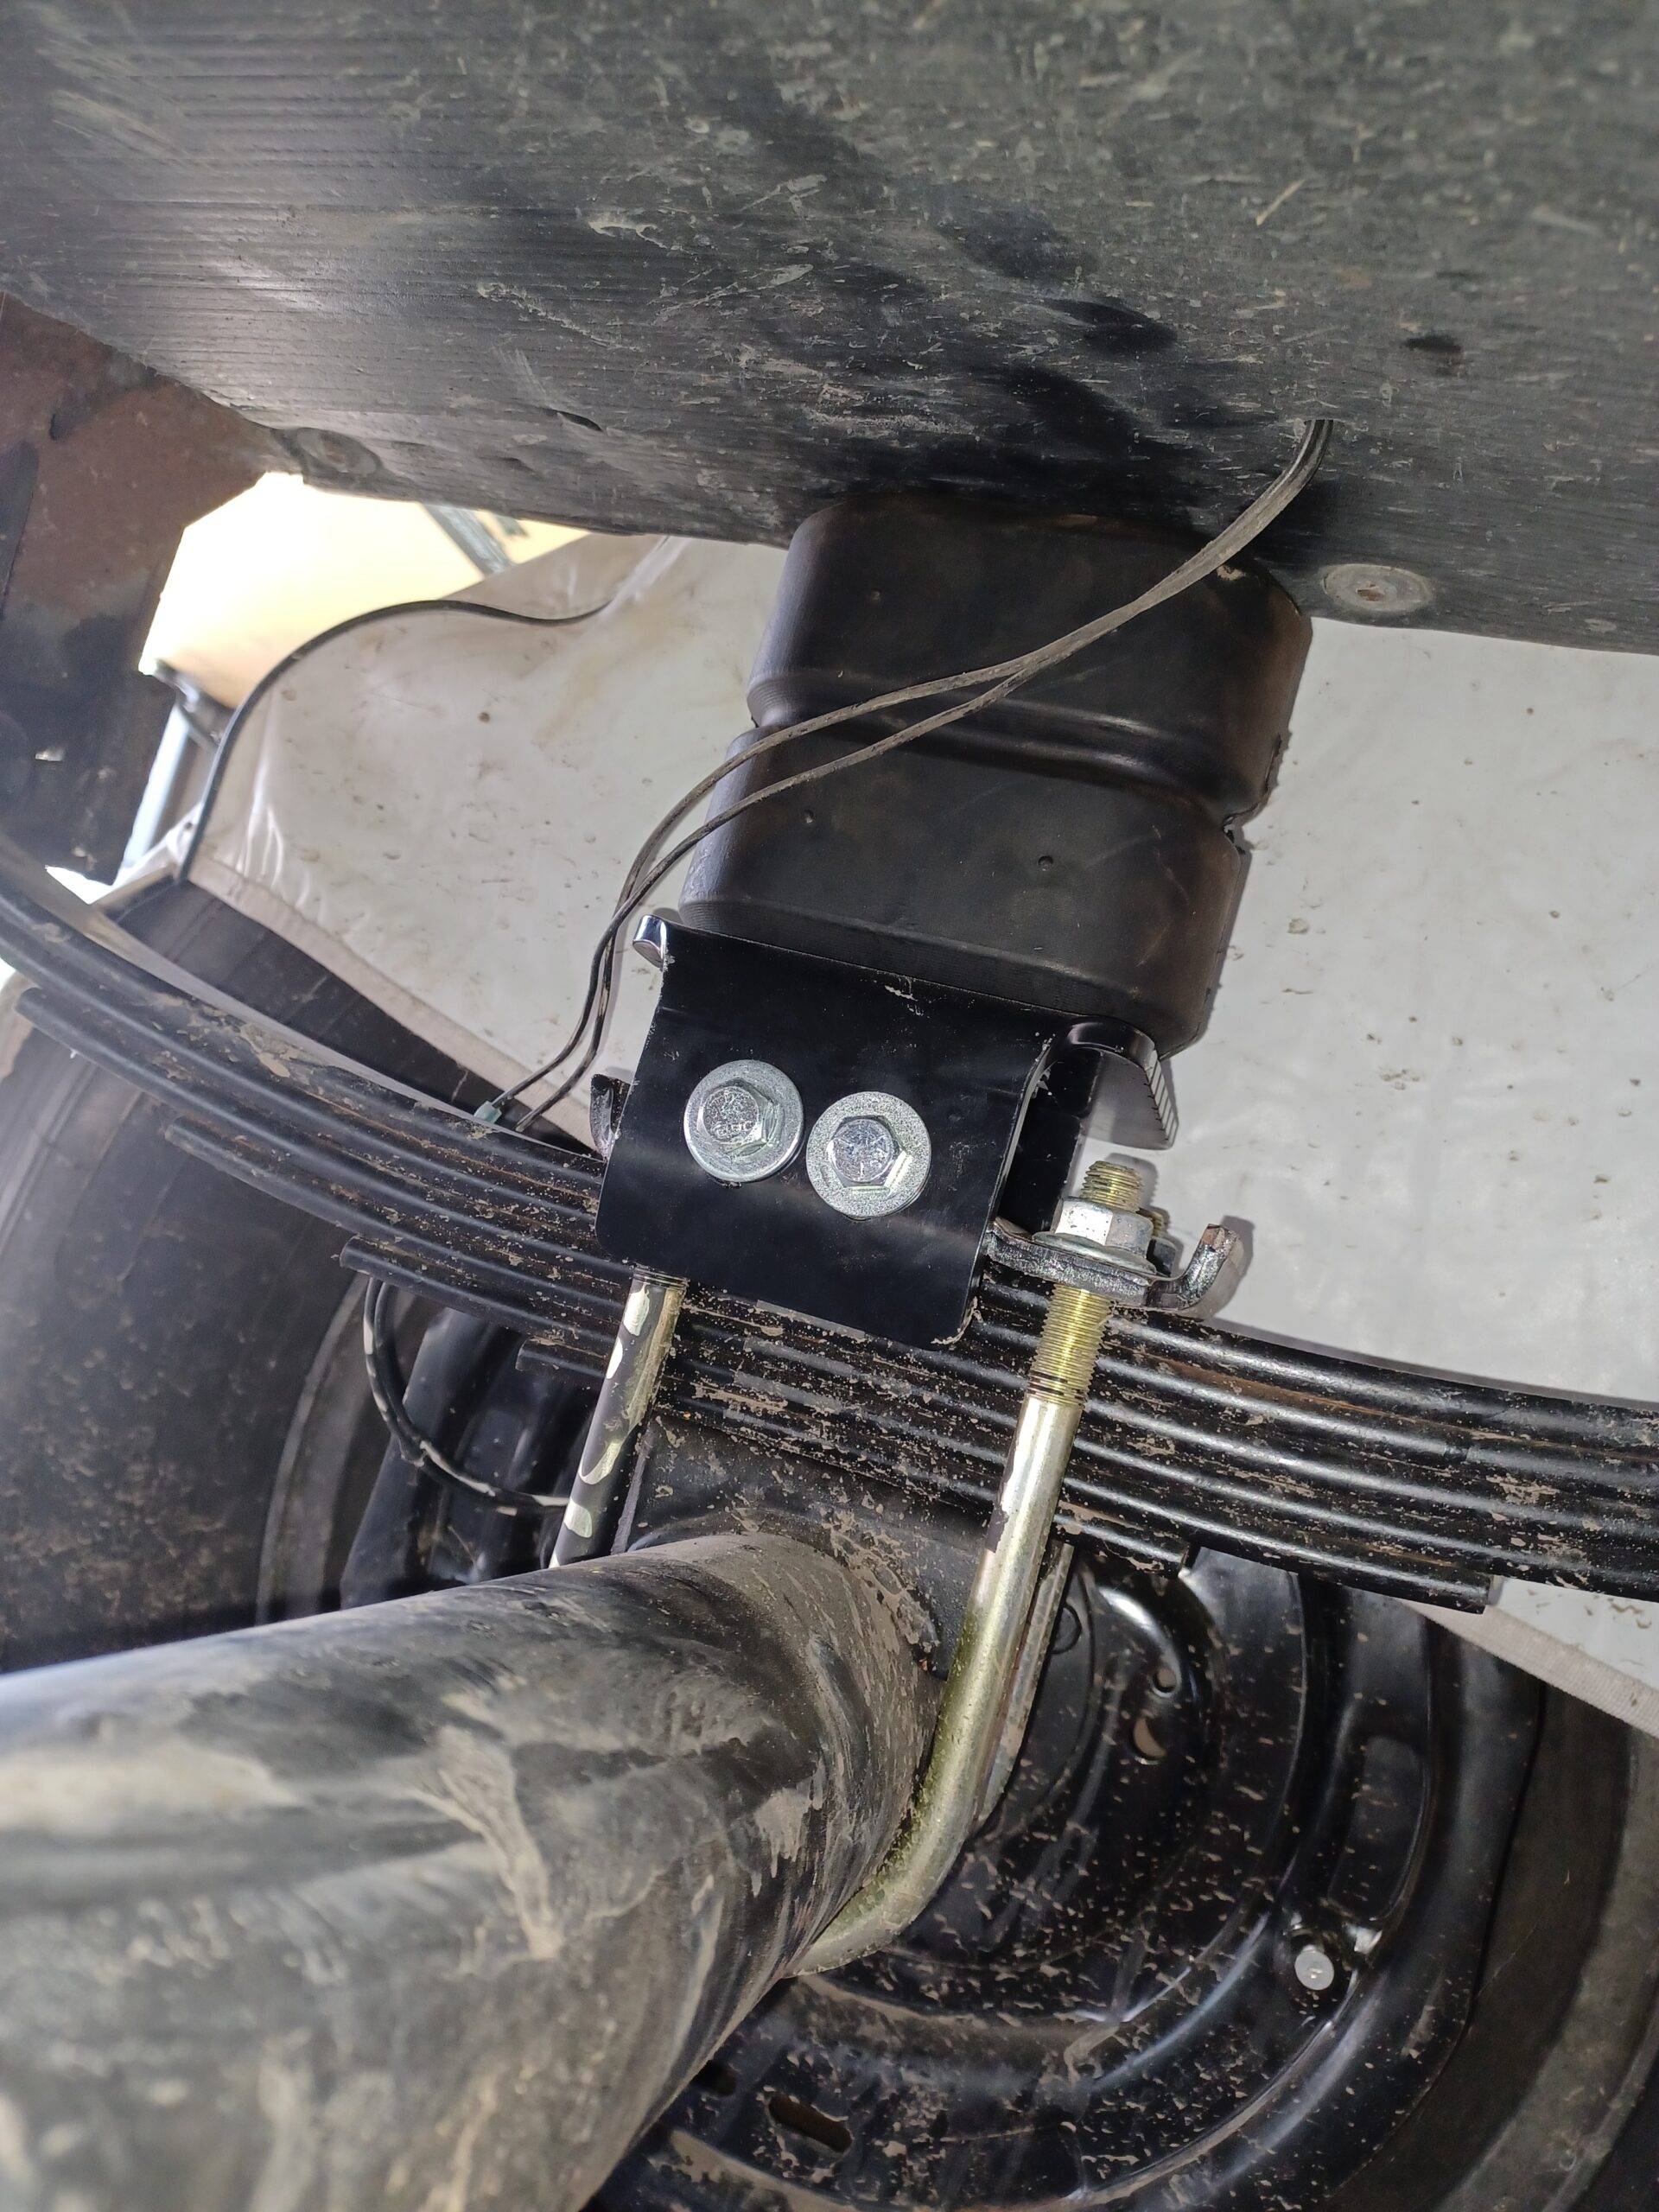
Next step was getting it attached to the leaf spring tie plate. The first time I checked height clearance it looked like just the Aeon would barely fit. I also had to disregard one of the directions from Timbren. They had the long bracket bolts going in from the wheel side. That wouldn’t work because there wasn’t enough room between the brake backing plate and the tie plate. So I went the opposite direction and that worked well. Got everything installed and tightened down on both street side wheels. Then I noticed that there was a space of at least 2 inches between the top of the Aeon and the trailer frame. That worried me so I started searching high and low for recommended clearance. I was ready to email the question to Timbren when I remembered a favorite saying of Dads everywhere. When all else fails, read the directions. Now, I thought I’d read those directions very carefully but pulled out the single sheet again and studied it. Sure enough the last sentence in one short paragraph said there should be NO gap for trailers. Turns out there was a happy ending on that side anyway. Instead of disassembling the Timbrens and adding spacers, I simply retracted the rear stabilizers. Voila! The trailer dropped enough to touch the Timbrens. Now on to the curb side.
This side worried me because there’s an iron propane line running along the frame right about where the Timbrens need to hit. I got the Aeons positioned so they just cleared the propane line. They actually overhang the frame slightly but that would happen regardless as the Aeons are wider than the frame. Again, once the Timbrens were installed and the rear levelers retracted, they touched the frame and missed the propane line. I’ll be inspecting them closely after the first pull, before turning the propane back on, just in case. Here are 2 more pics of the Timbrens installed.