Let me start by saying that in hindsight, I probably would have done just a partial repair or found a mobile RV tech to do this project. It was a real handful.
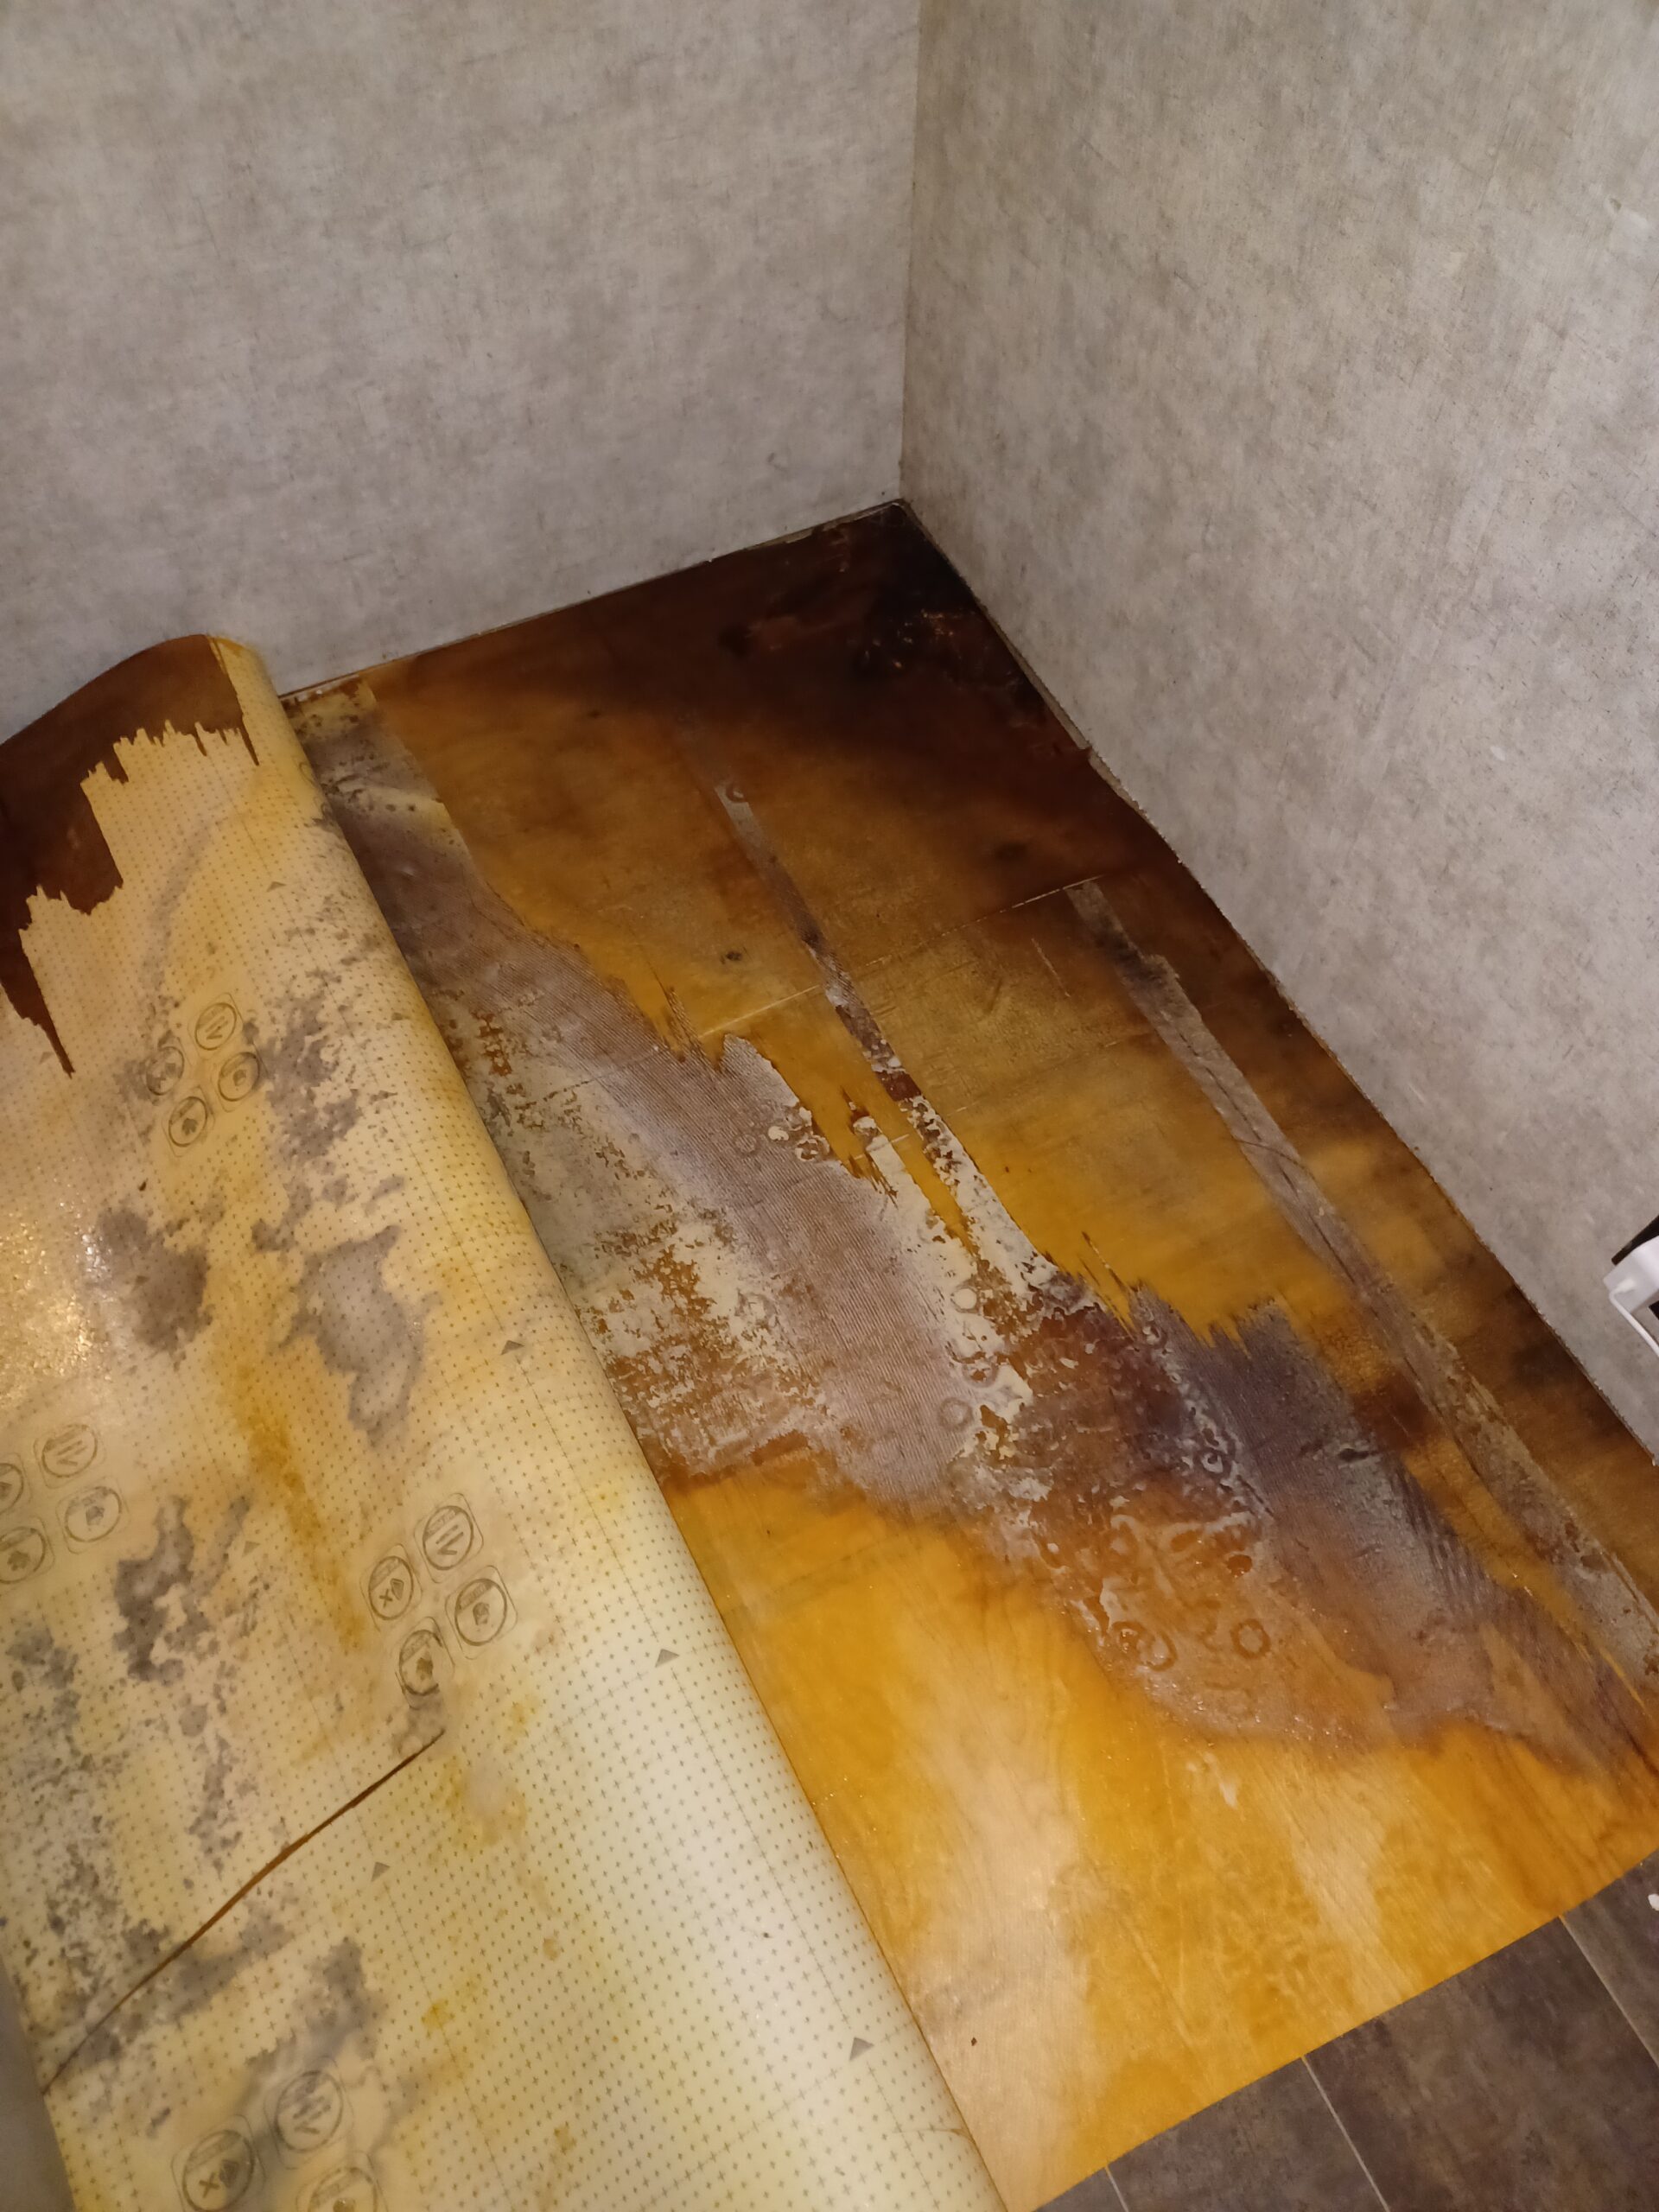
First, some background. At the time I decided to do this, my 5th wheel was about 8 years old. The problematic slide was the living room slide – 144 1/4 inches wide and 48 inches deep and 1 inch thick. I cut a test hole in a good section of the floor to determine exact thickness. A few years ago I noticed water intrusion in one corner and did a partial repair which was holding up well. This time, we noticed some sagging in the other corner and started investigating. I could feel the softness from underneath so I started moving furniture and pulling vinyl inside. It was a much larger area than the other corner. I cut a piece of plywood and held it in place underneath with a bottle jack. I put a fan on the inside floor for several days and the top layer or two dried out. I poured a can of wood hardener on it hoping for a miracle but that didn’t work. After weighing another partial repair vs full floor replacement, I opted for the entire floor. From previous research I knew that having this done professionally could run between $5k and $8k, plus having to find someplace else to live while it was in the shop. DIY wins this time.
After the decision was made, I needed to do some research and start gathering supplies. I got some excellent advice on what wood to actually use for the flooring. I bought 5 sheets of 1/2 inch 5×5 Russian birch. I had one of the sheets cut in half so I could make a single large sheet measuring 12.5 feet X 5 feet. I used Tite Bond III wood glue and 3/4 inch countersunk screws to hold it all together. Joints were overlapped by 2.5 feet. To help visualize that, the bottom layer was full sheet, full sheet, half sheet and the top layer was half sheet, full sheet, full sheet. For some reason, the edges didn’t come out quite even but that didn’t matter since I had to cut it down to size anyway. After cutting to size, I drilled holes for the electrical wiring, applied 2 coats of waterproof penetrating epoxy sealer to the bottom and put zip flashing tape along the edges. I also had to use a hand held power planer to create a bevel for the inside edge. A chalk line came in very handy for the cutting and beveling. Believe it or not, that was the easy part of the project.
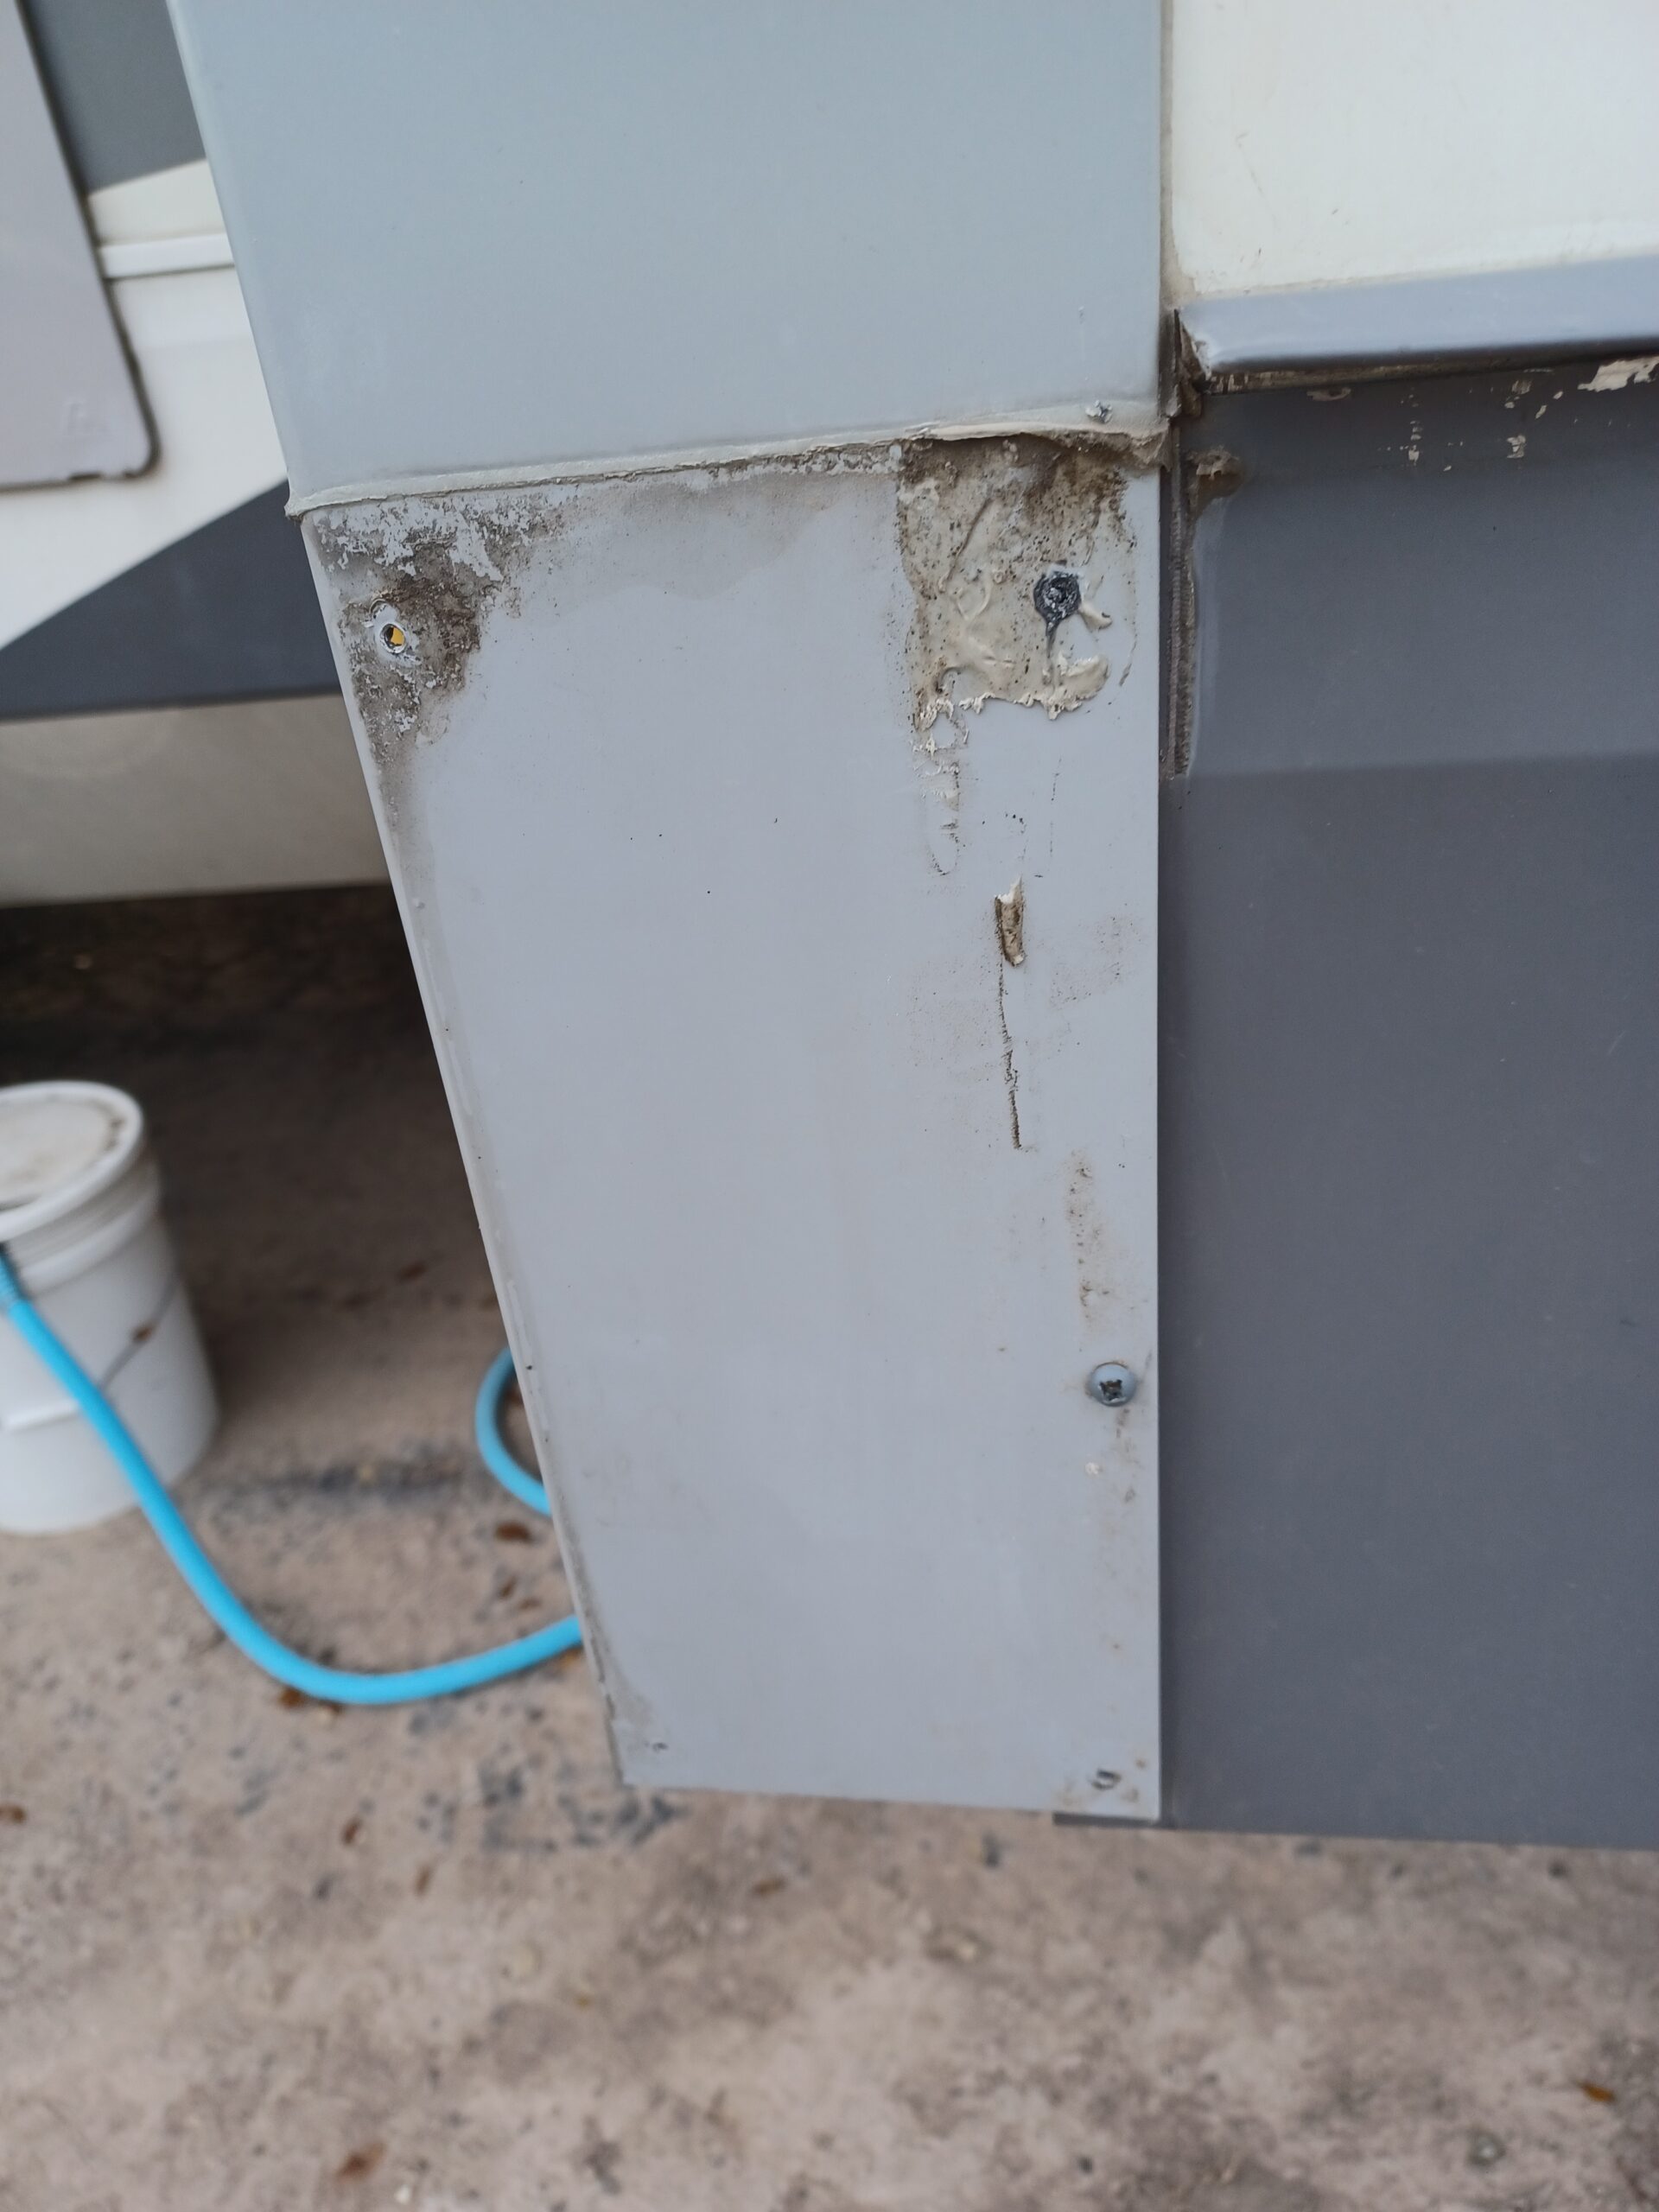
Next up was removing trim from the outside. I started with the lower trim pieces. Remove caulk and screws. Mine also required bringing the slide in about a foot to remove screws that couldn’t be reached from the outside.
Then remove corner pieces.

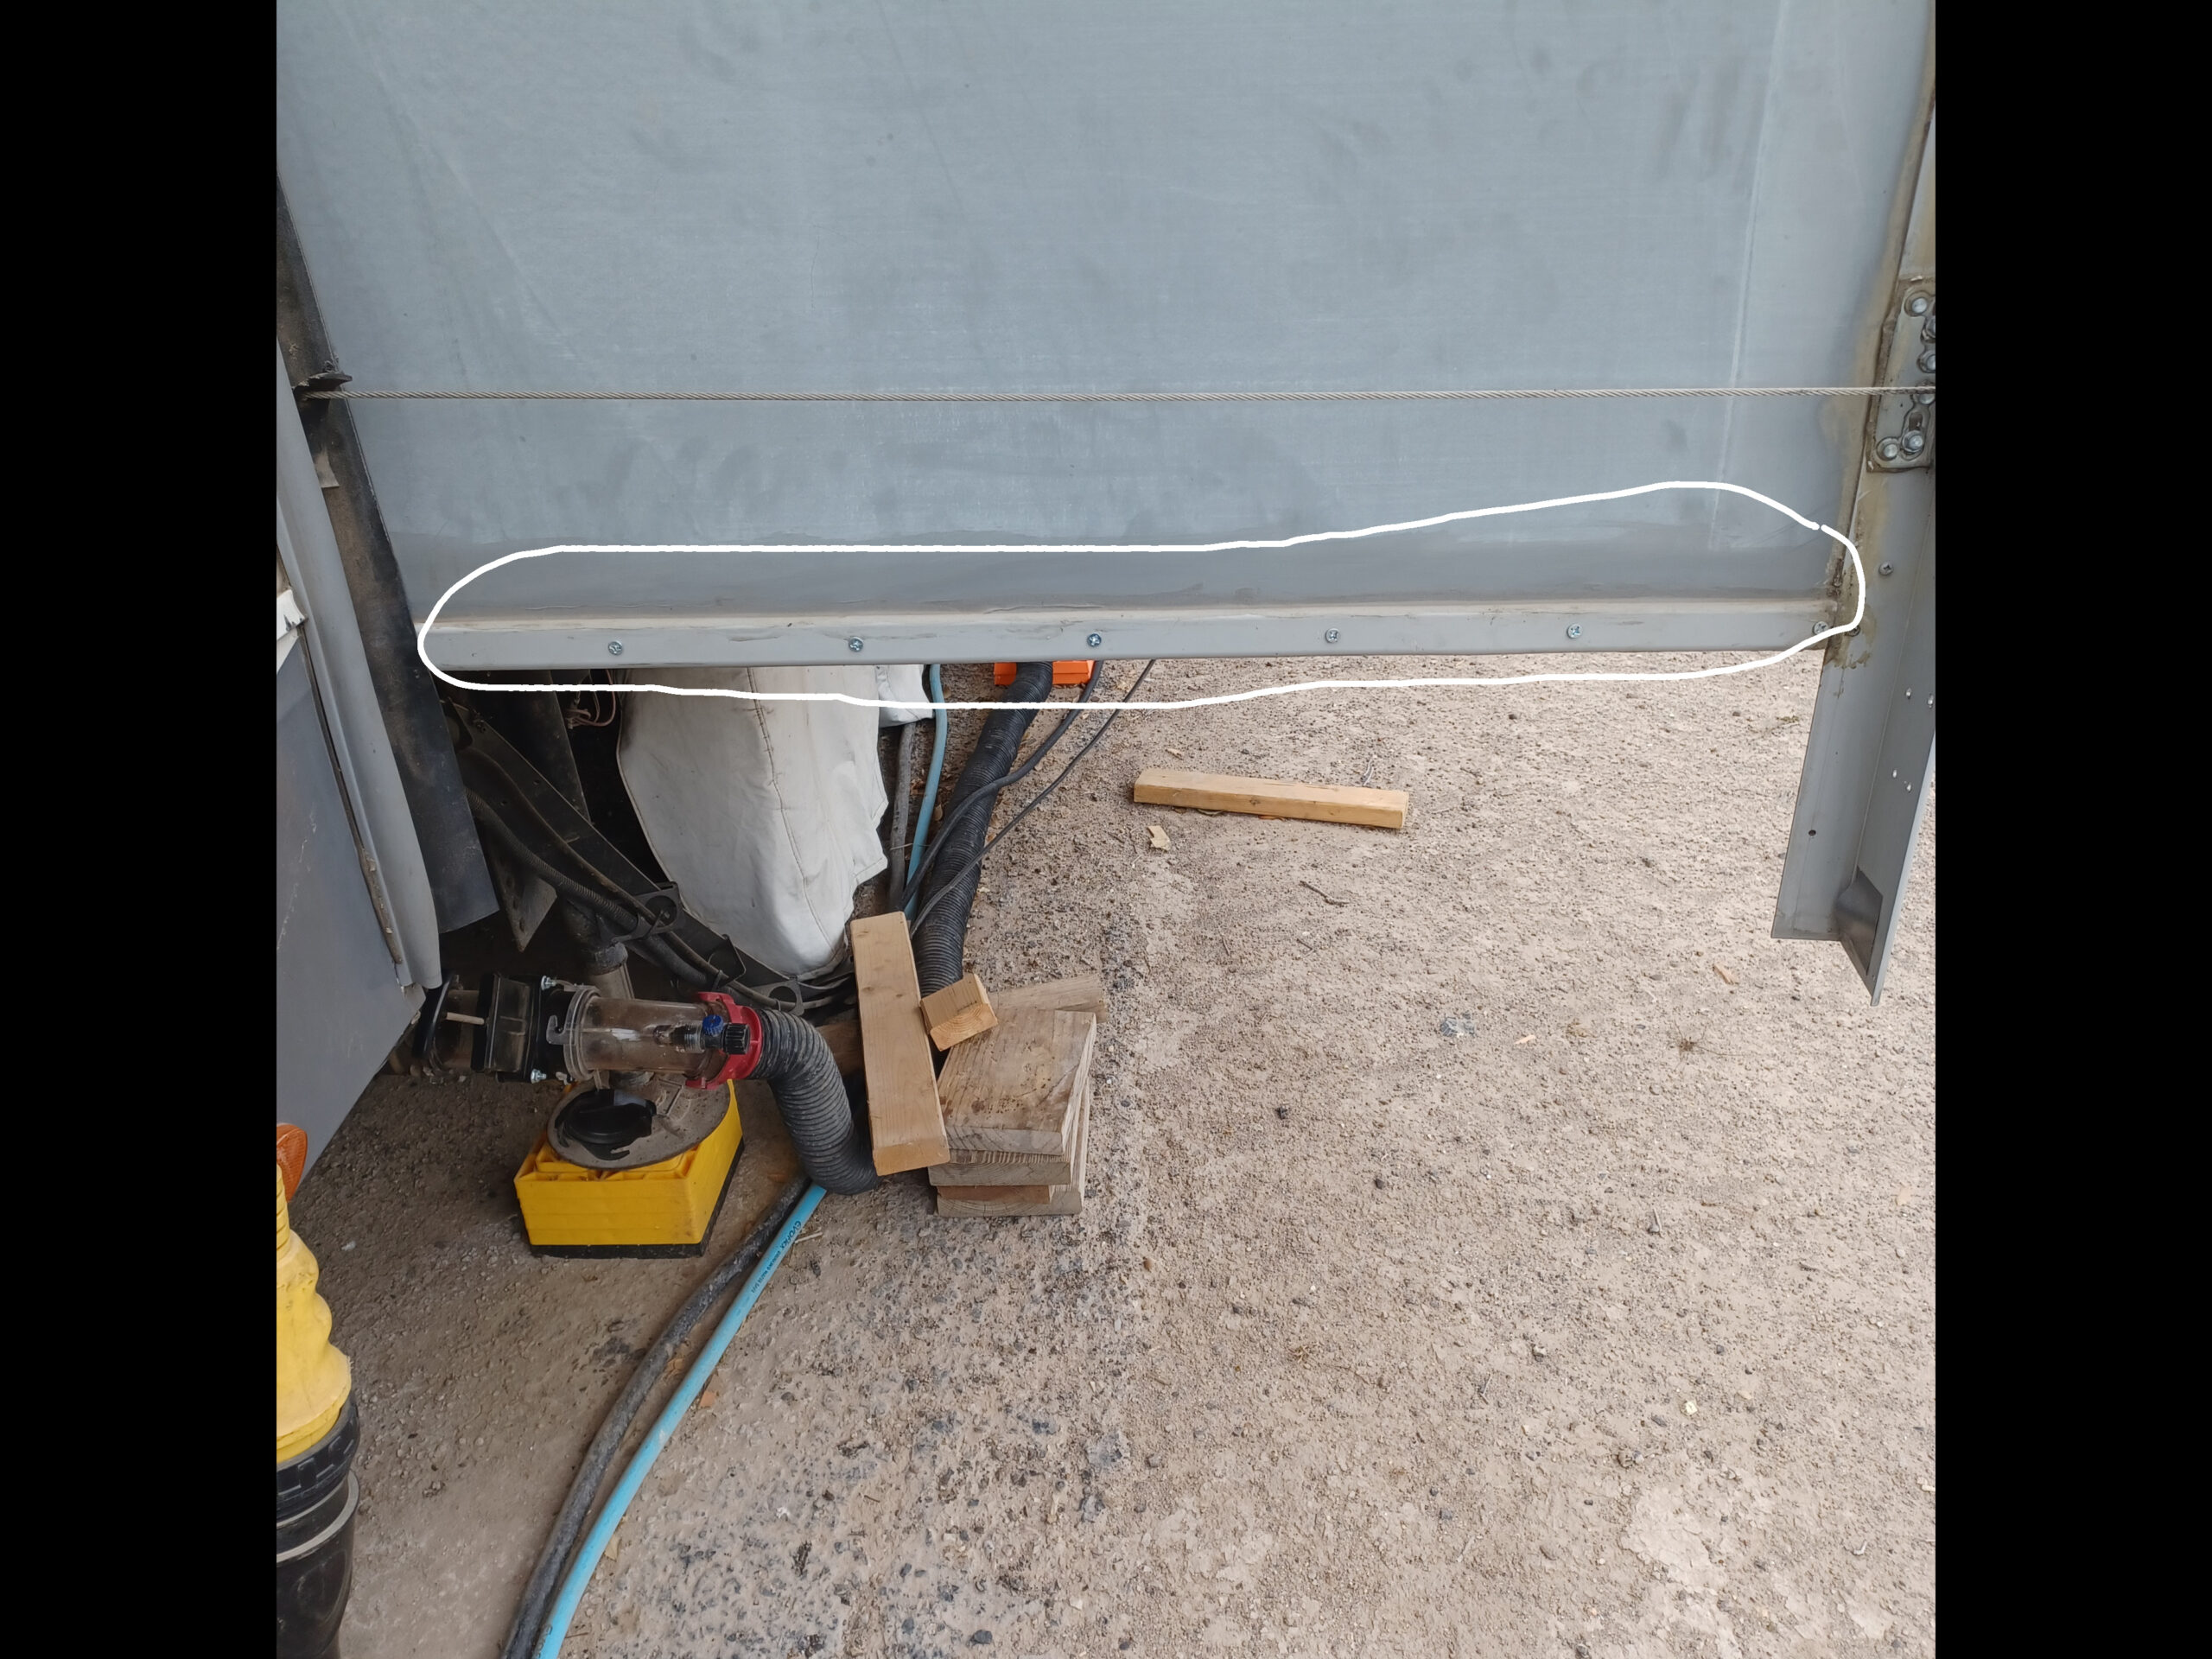
I also had to remove a strip of plastic from around the edge of the floor bottom to access the screws holding the floor in place, and to run a scraper along the outer edge to remove tape and weatherstripping so I could remove the aluminum trim extending down from the long edge of the slide. (That’s the new floor resting against the slide.)
And this is what it looks like with all the outside trim removed.
Next up was removing floor trim inside and slide trim coming down the edges. The slide trim was necessary so I could get blocks under the brackets to help hold the slide up with the floor removed.
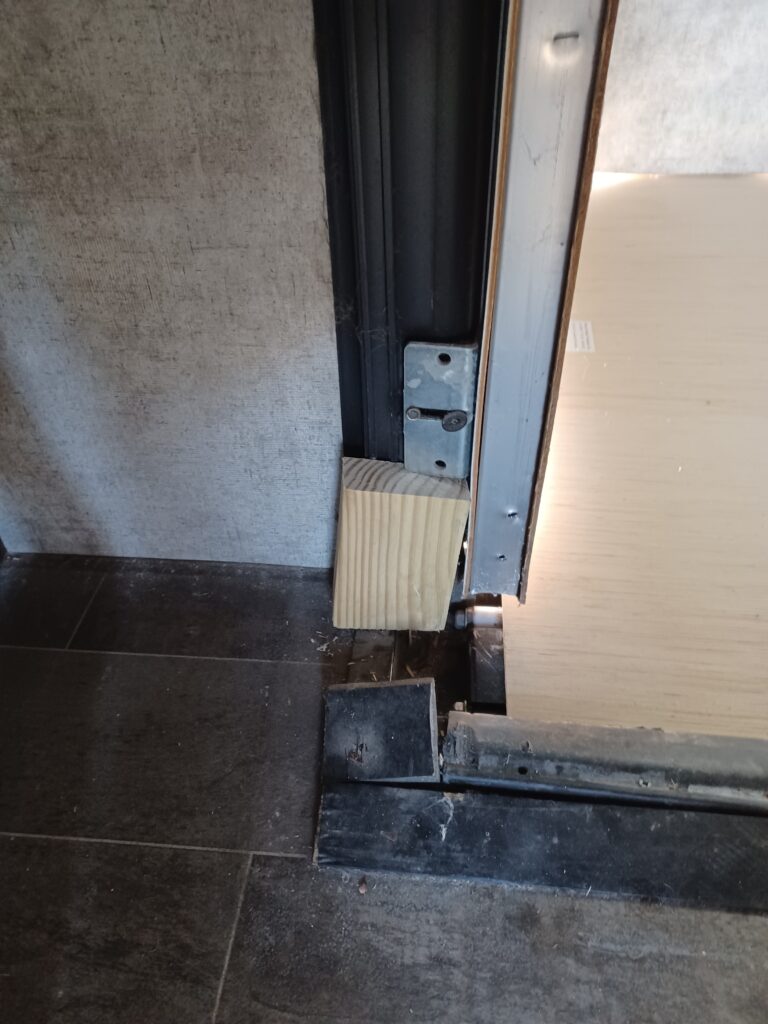
This pic shows the temp floor in place.
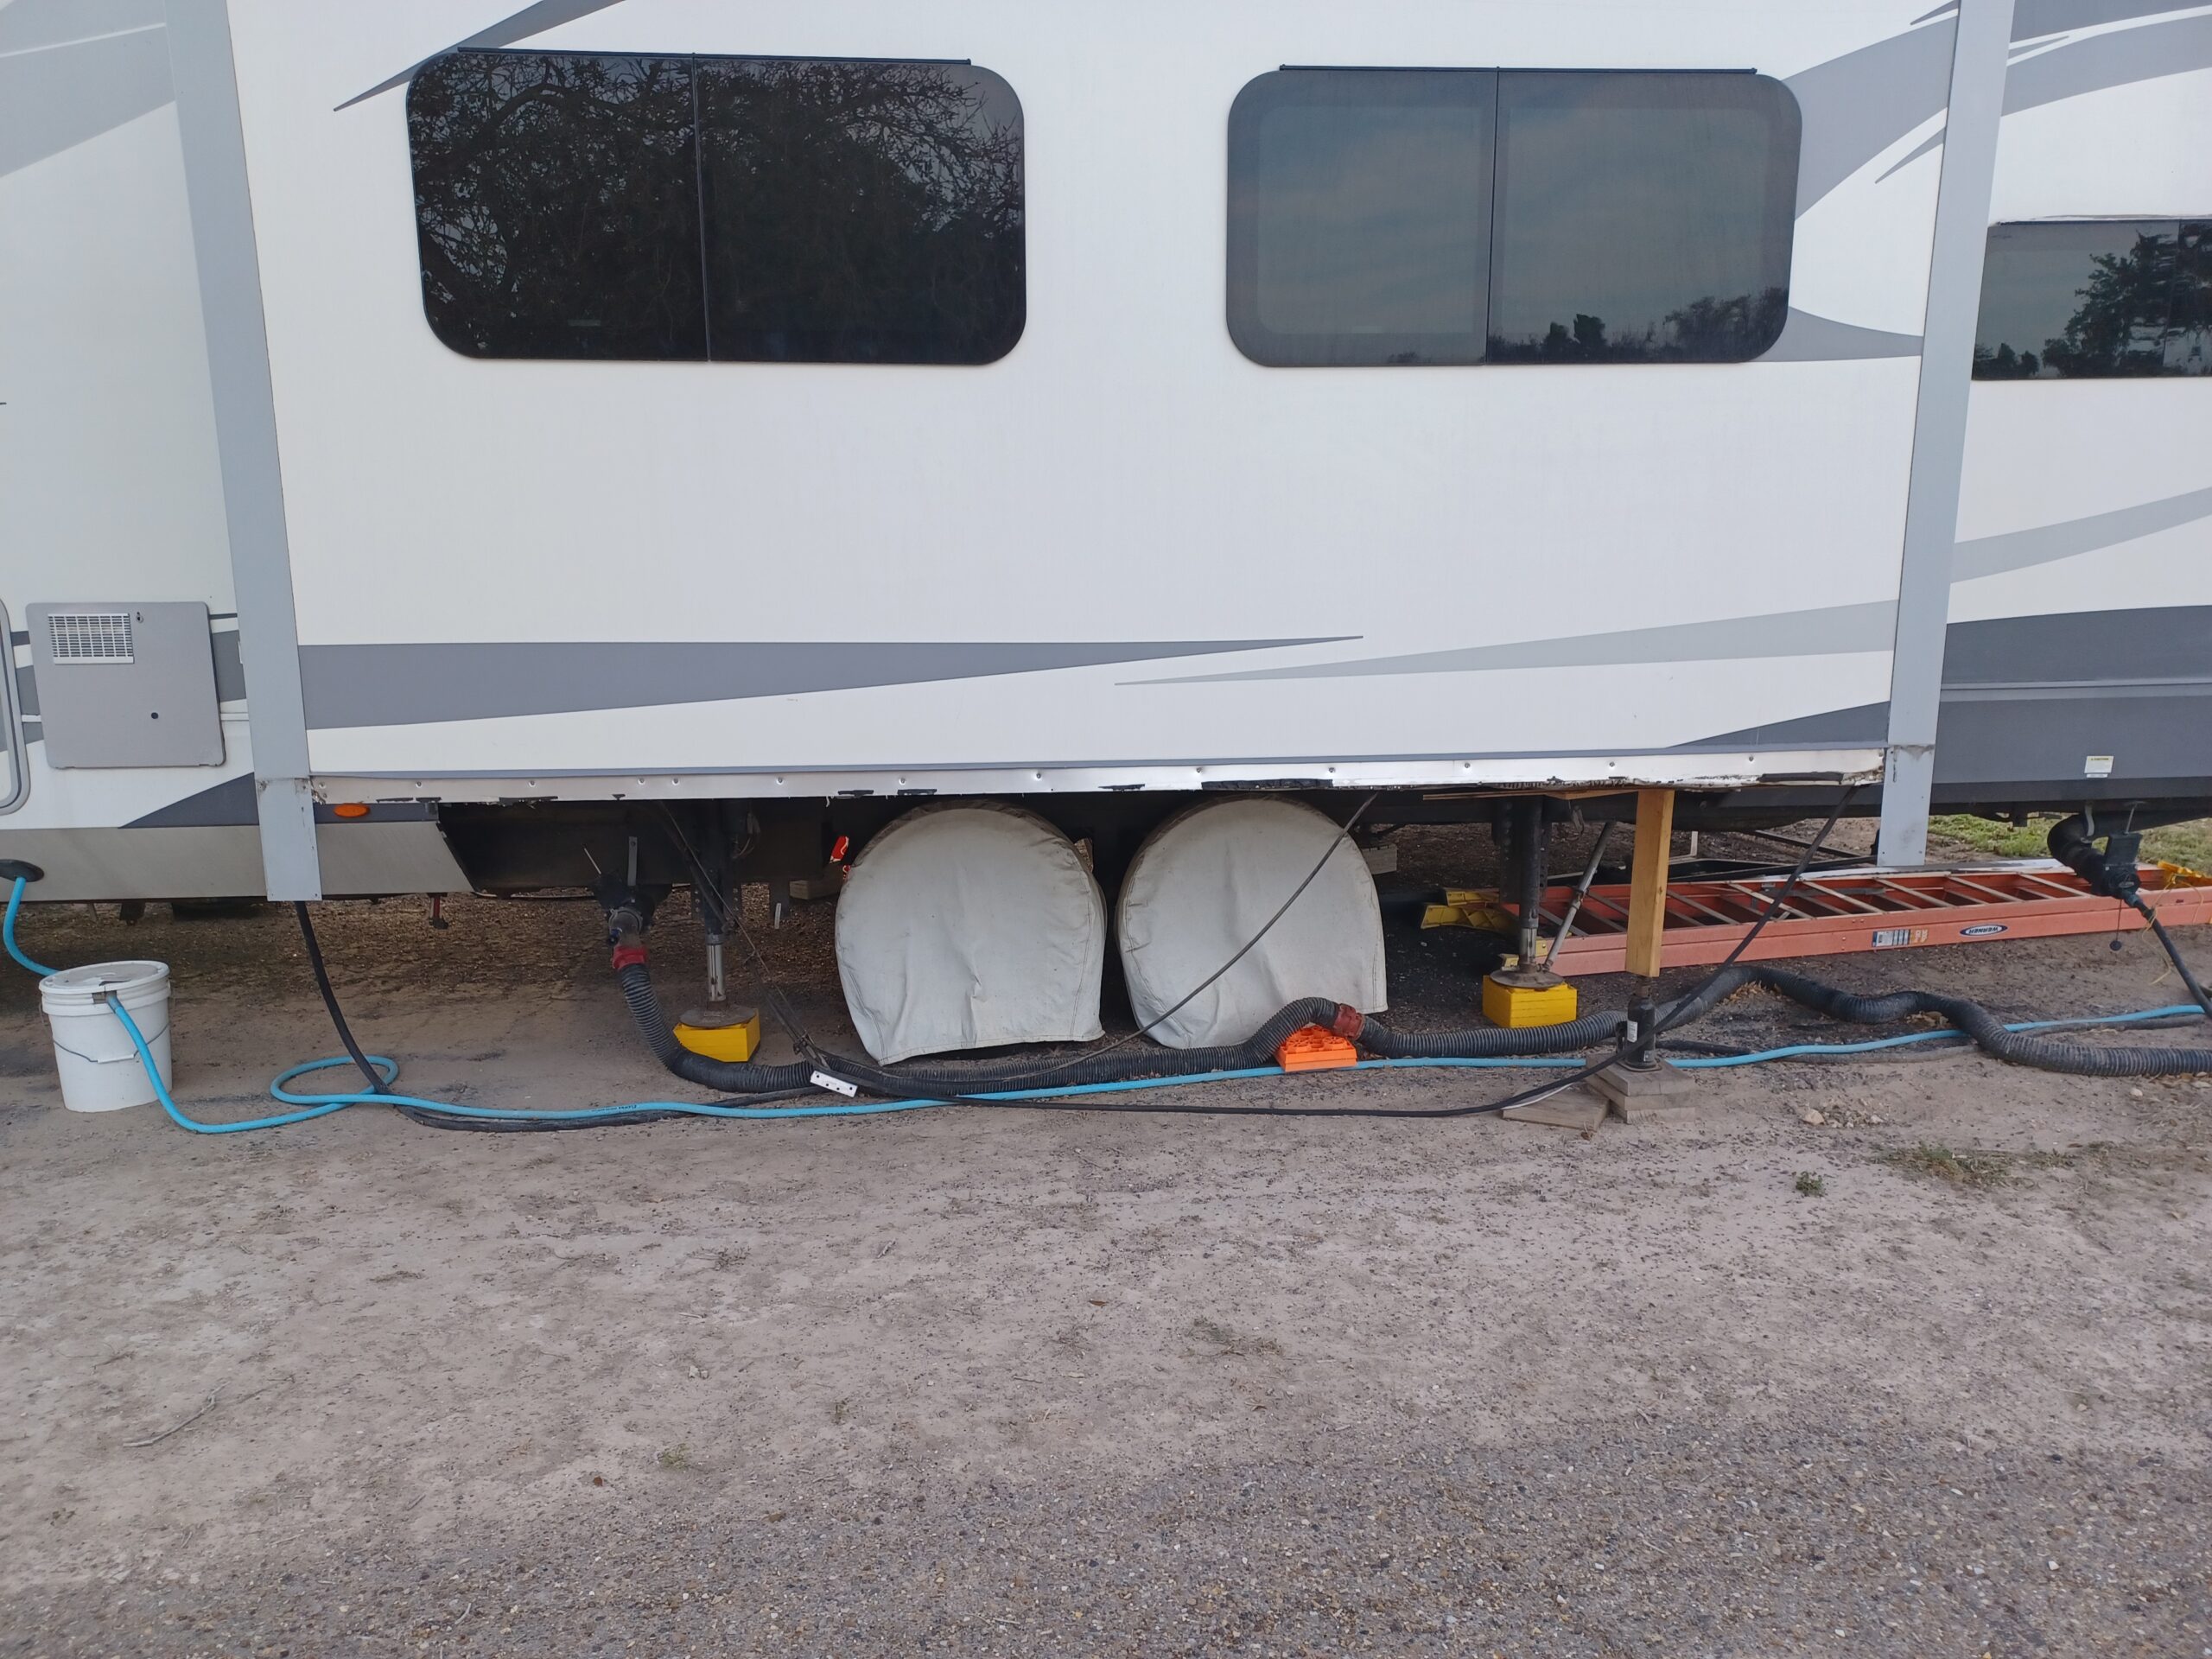
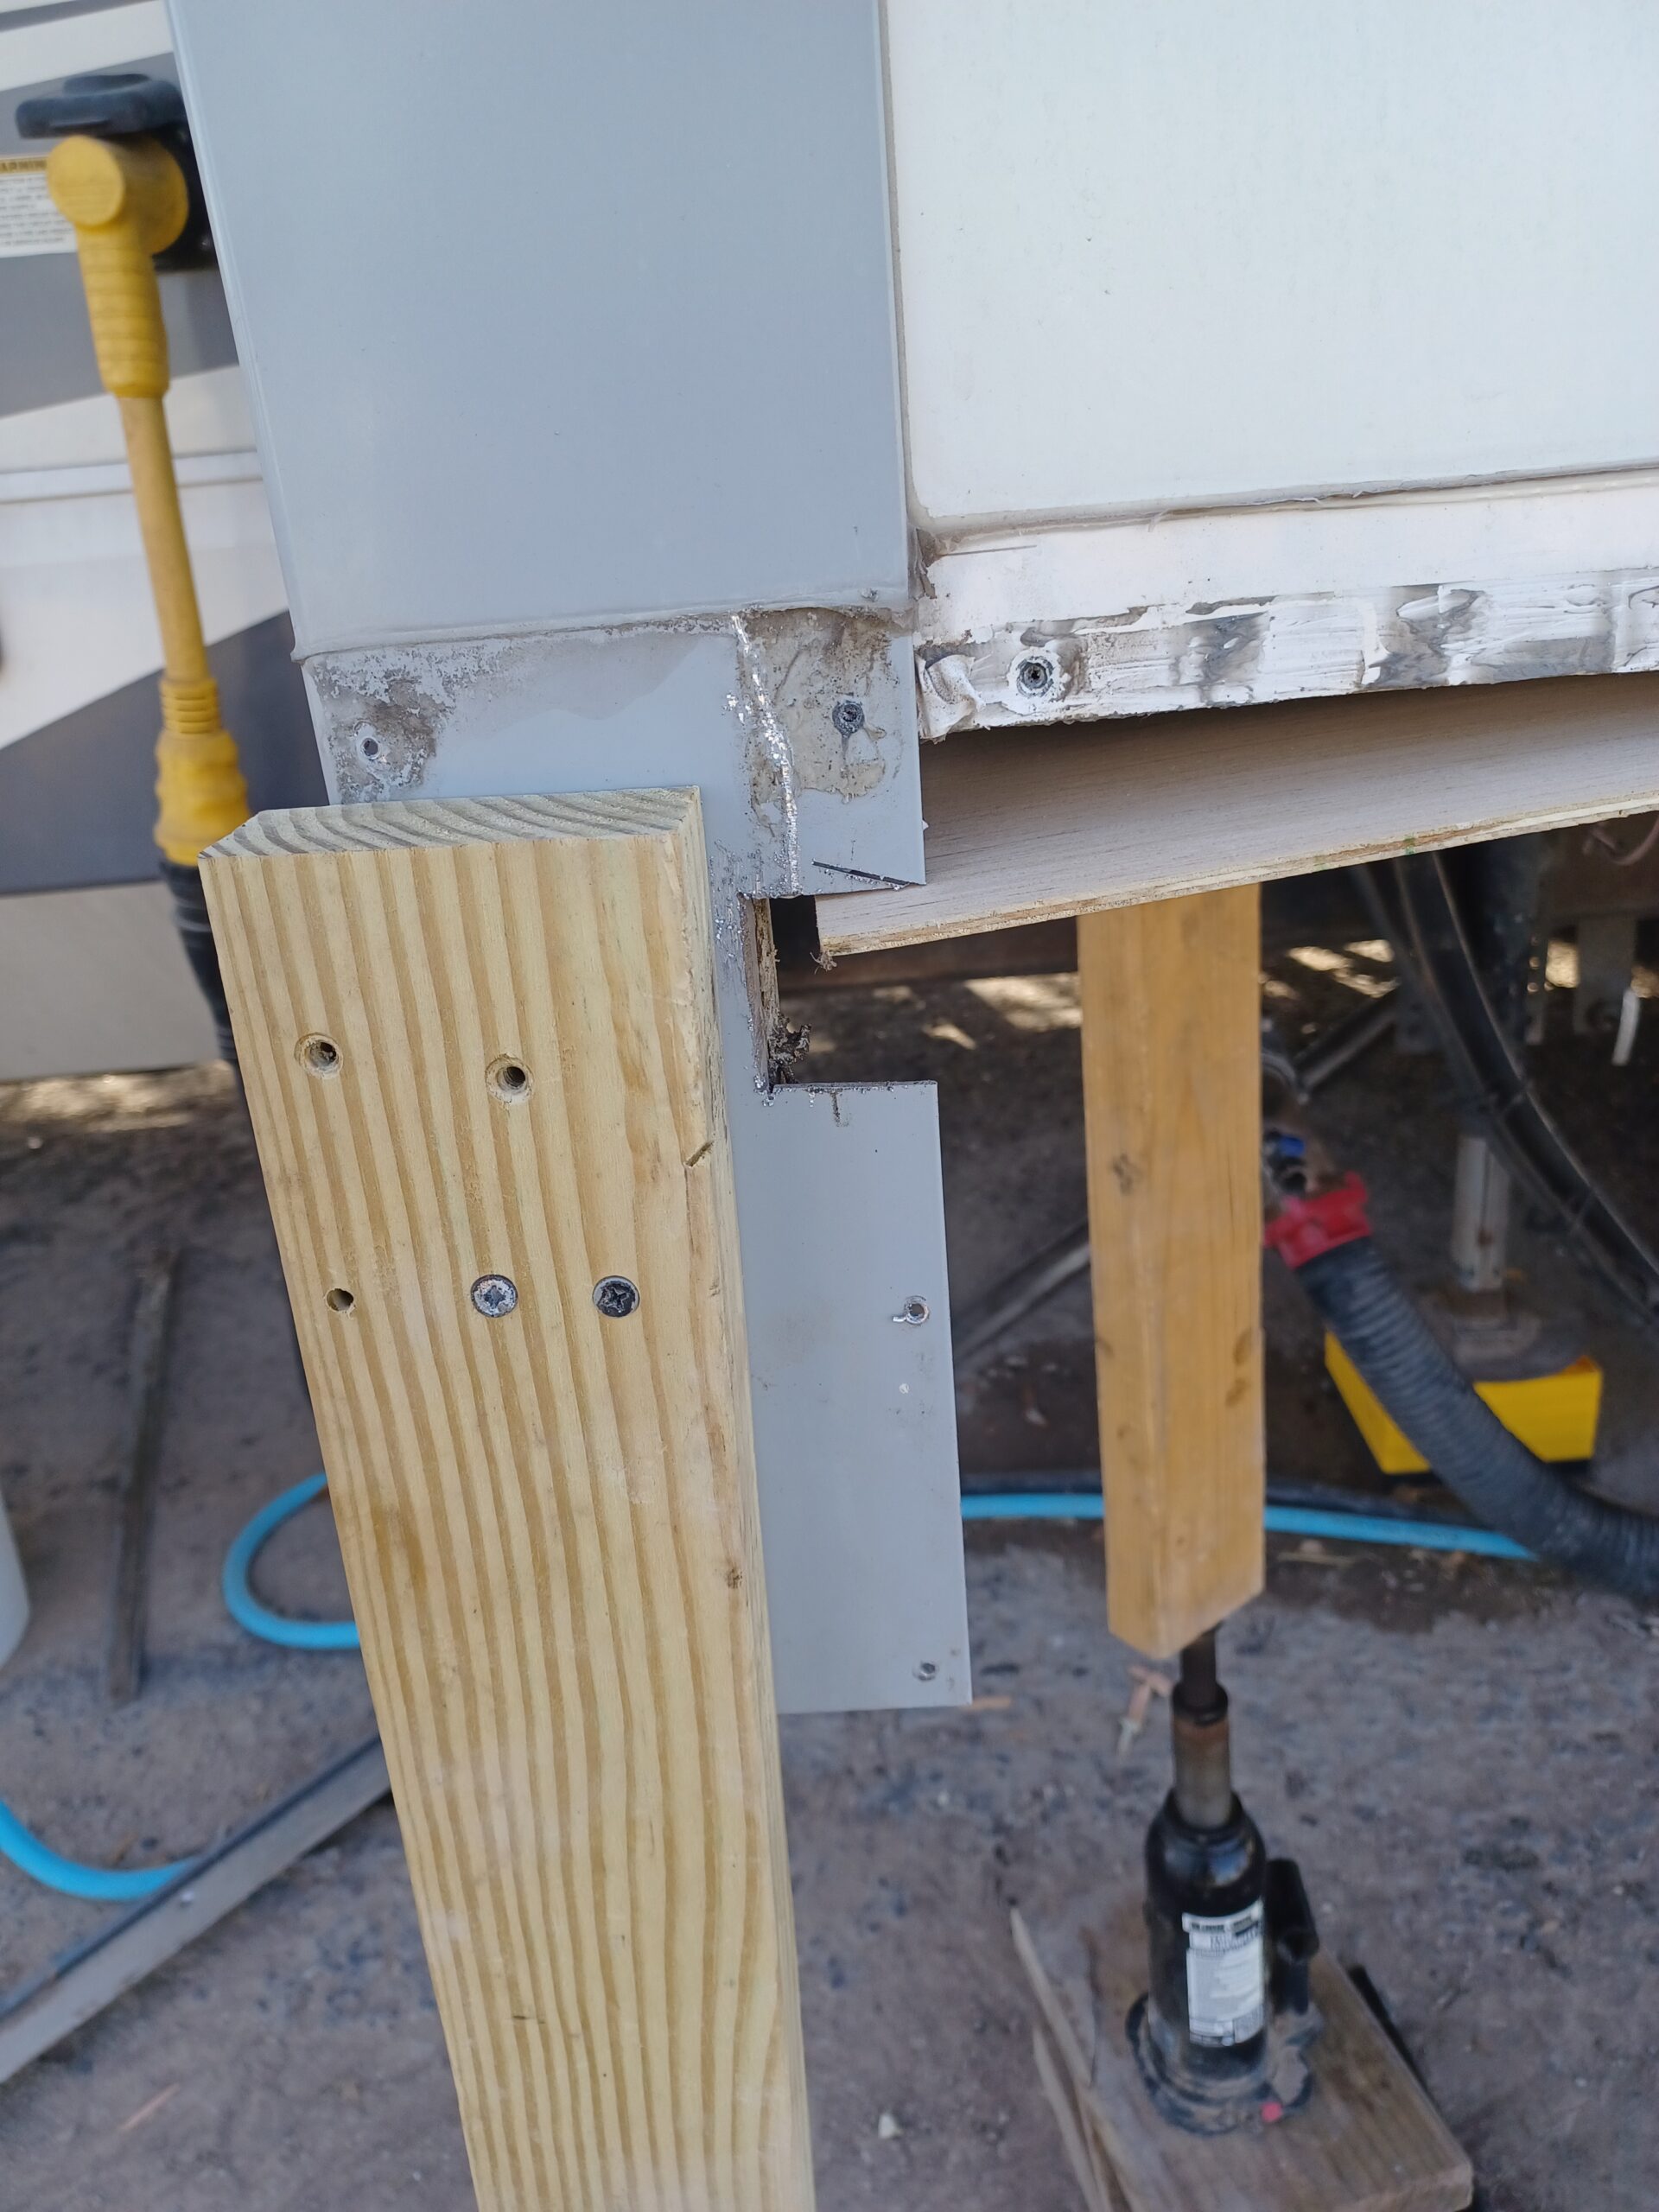
I should probably note at this point that this is a cable slide that also has 2 rollers with compression blocks under the floor. And that’s where I made my biggest miscalculation. I knew the slide would need to be jacked up and secured while replacing the floor. I just didn’t figure how much. Besides the blocks inside, I also attached 2x4s outside.
Just before trying to remove the old floor, I also cut notches in the corners so the old floor could come straight out and the new floor slide straight in. (Again, this pic has the temp floor in it.)
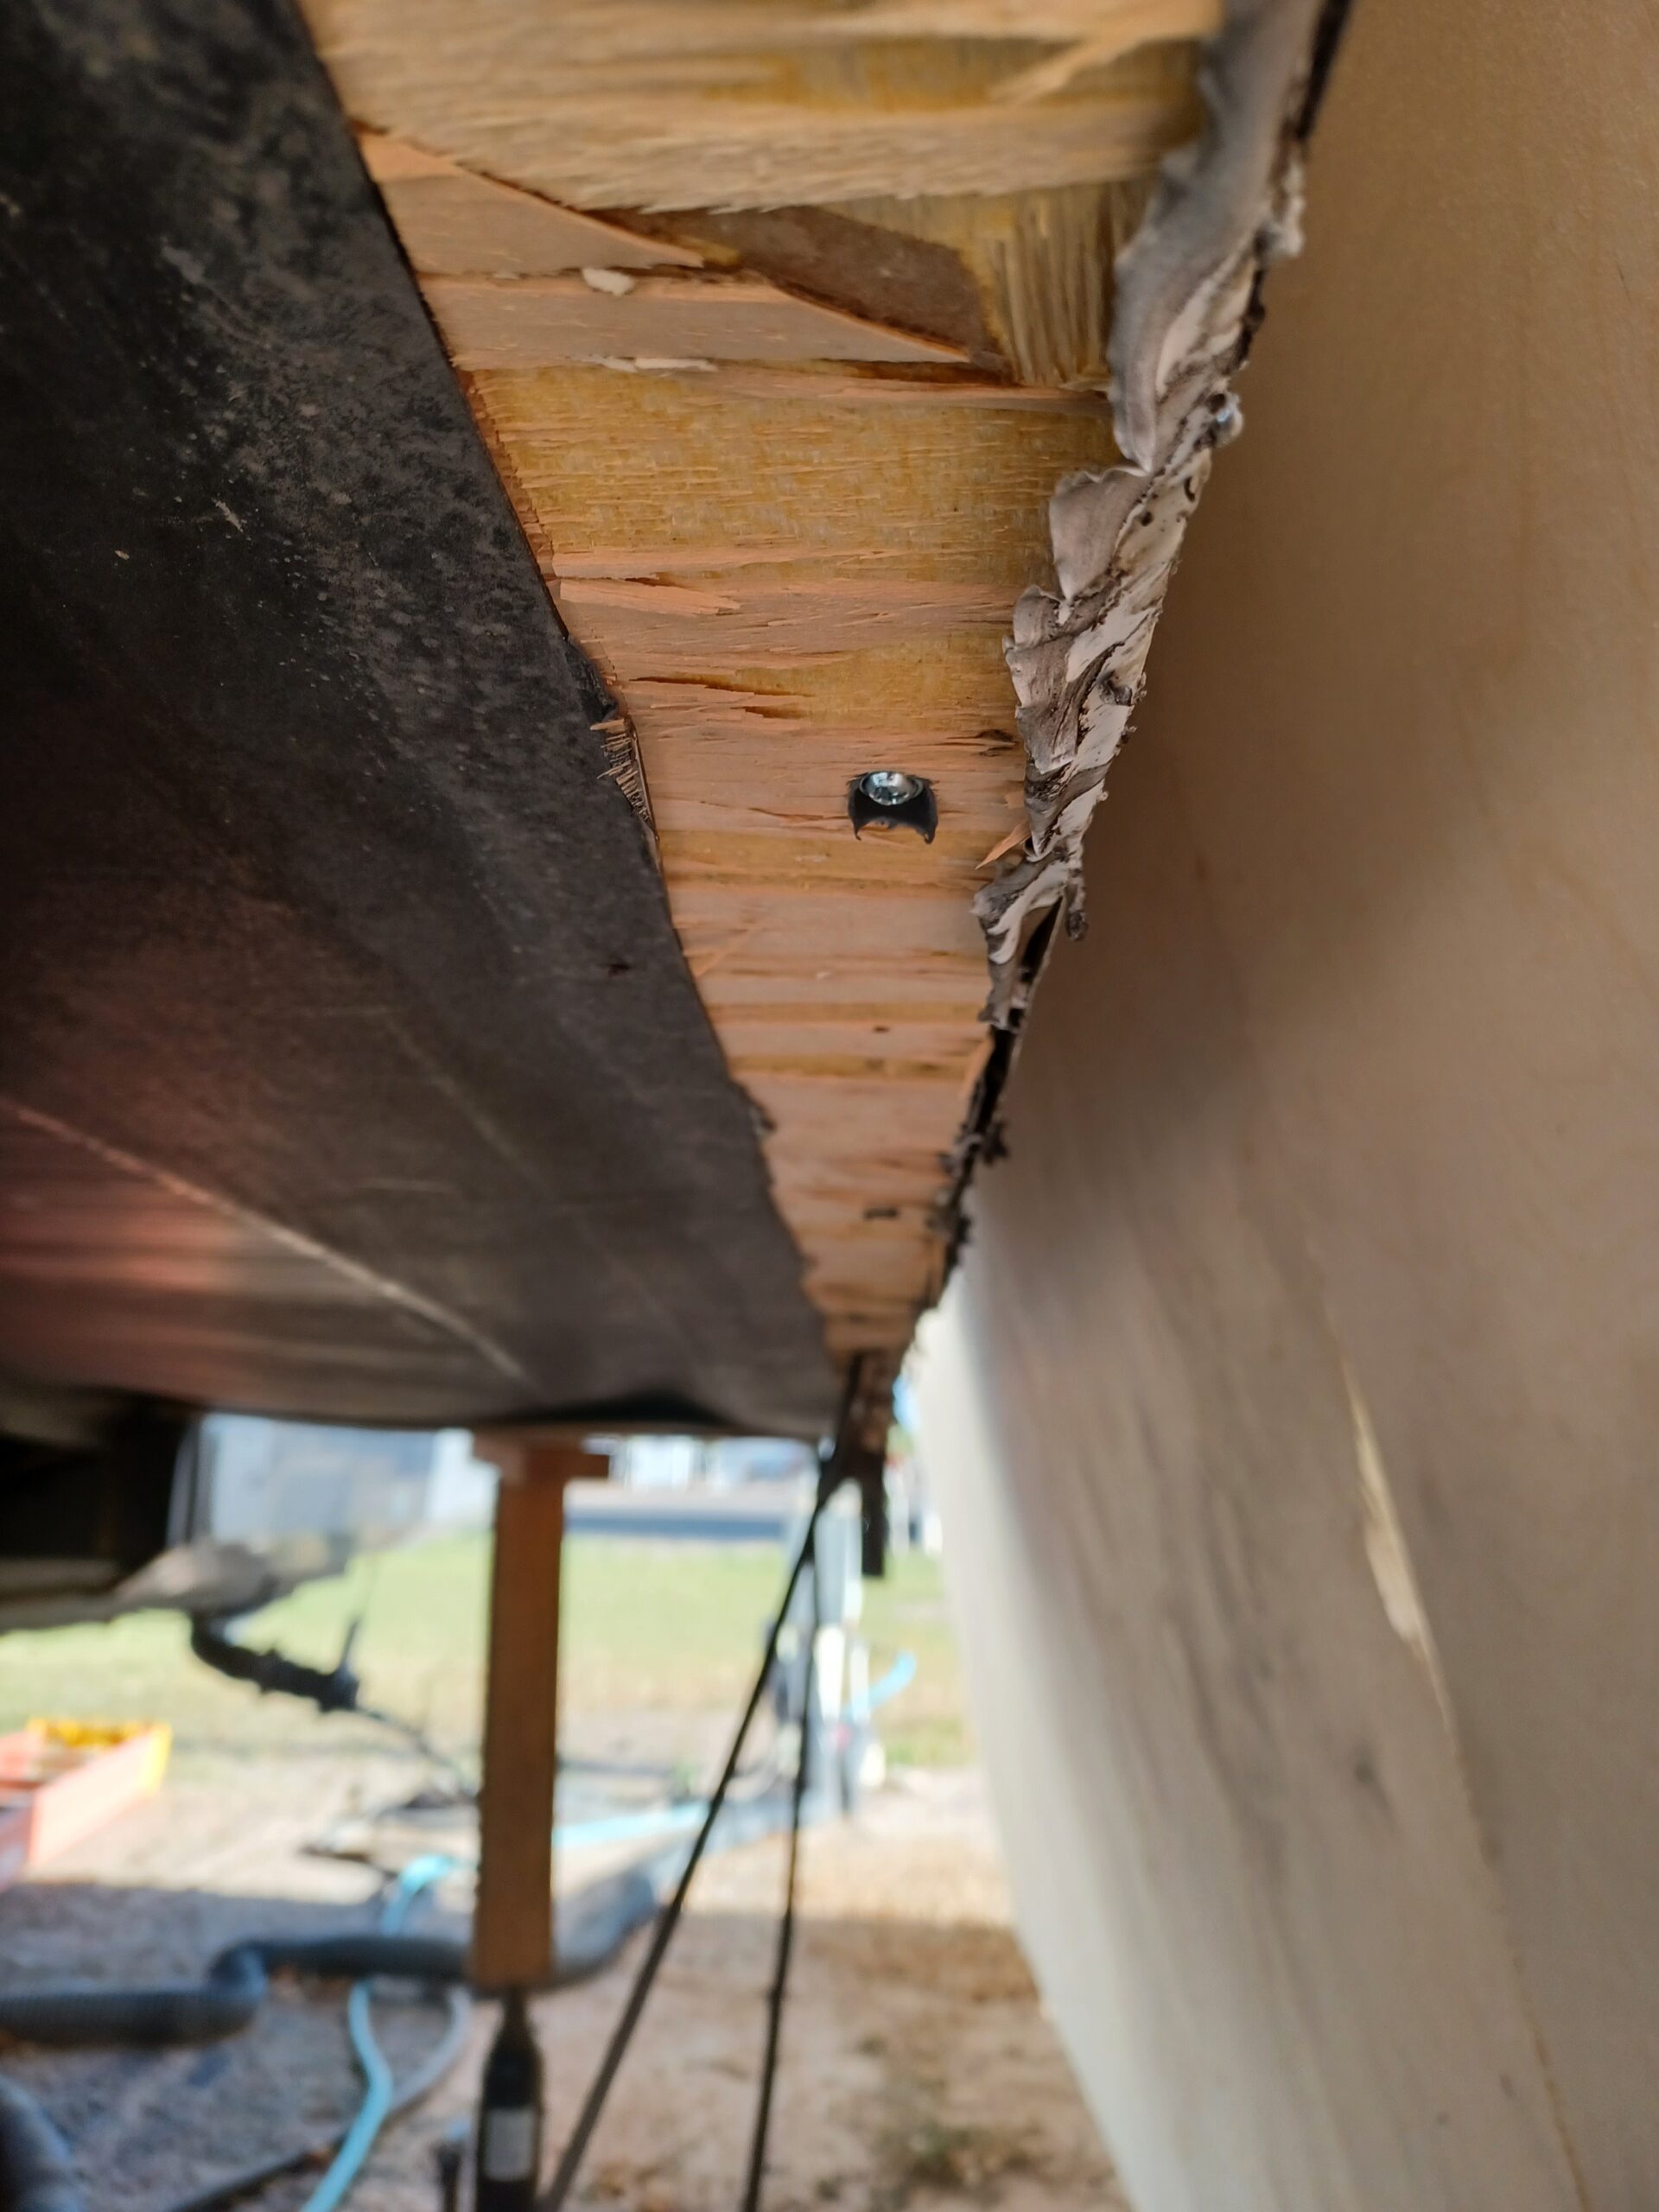
Once all the screws were removed from the old floor, it should’ve been a simple matter of sliding it out. And that actually worked for one side but the other side wouldn’t budge. I had to go inside the RV and cut away flooring that was stuck under the slide frame. This was my miscalcualtion. I forgot to take the compression blocks and slide rollers into account. The side that came out easily had a compression block that was much more compressed (over time) and wasn’t applying enough upward pressure to hold that side of the slide in place. The block on the other side had more life left in it, and more resistance. The slide floor finally came out. I had planned on replacing the compression blocks anyway when the floor was out but had to rethink that plan. I removed the old blocks and decided it would be much easier getting the new floor in and secured, and then putting the new compression blocks in.
Did I mention all this work was happening in an RV park? While we were living in it? Our cat had to stay locked in the bedroom for a few hours while the floor was open. Between the old floor and the new floor I put in a temp 5mm underlayment floor. And an RV neighbor was kind enough to assist and offer some great suggestions. One of those was building a crib/scaffold/cradle to support the middle of the new floor as we were sliding it in. That was very helpful. Those notches I cut in the frame? I taped some thin plastic over them to protect the flashing tape when sliding the new floor in. That didn’t work out too well. The floor was heavy enough that the plastic split. I also got some thin sheet metal to use as slide skis. In hindsight I should have cut some of that to put in the notches to protect the flashing tape.
As I write this, the inside is finished. New vinyl, electric reconnected for the slide, all the inside trim back in place, new compression blocks in. I still want to brush on another coat of sealer outside to cover the spots that may have gotten a little scraped during installation, then reattach the outside trim.
Besides the power planer and chalk line, I also used a circular saw, reciprocating saw, cordless and corded drills (with a right angle attachment), tin snips, brad nailer, razor knife, paint scrapers, pry bars and hammers. Total cost for the project was under $600. That included lumber (Russian birch was $225), materials and a couple of new tools.